
WELDER REBUILDS

I was recently able to get my hands on a ‘new’ welder - one that I’d been searching for, for what seemed like an eternity. What I was able to score was a Miller Syncrowave 250. Pretty beat up, leaking from many areas, mismatched hardware…and in some cases missing altogether - I set out to rebuild this old beauty. My vision was of course, blacked out, stainless hardware and 12pts where applicable.


I started with taking off all the panels, top, sides, and even the front cover panel. Stripped of all their labeling and old stickers I made quick work in getting them out to be sandblasted and powdered in a Satin Black. After inventoring and mapping out what hardware I wanted, I got those on the way. And lastly, the fittings and lines for the watercooler were just about all shot. An order was placed for a new CK torch setup and torch cover.
Thanks to:
Concept Powder Coating for the powder
Specialty Fasteners for the hardware and 12pts
Jody at WeldMonger for the torch and cover


Pictured on the left: Got to get the points in…all 12pts that is, for the fan mount and lower trim.
Pictured on the right: Underneath the access panel - spark gaps were cleaned and set and cable management.
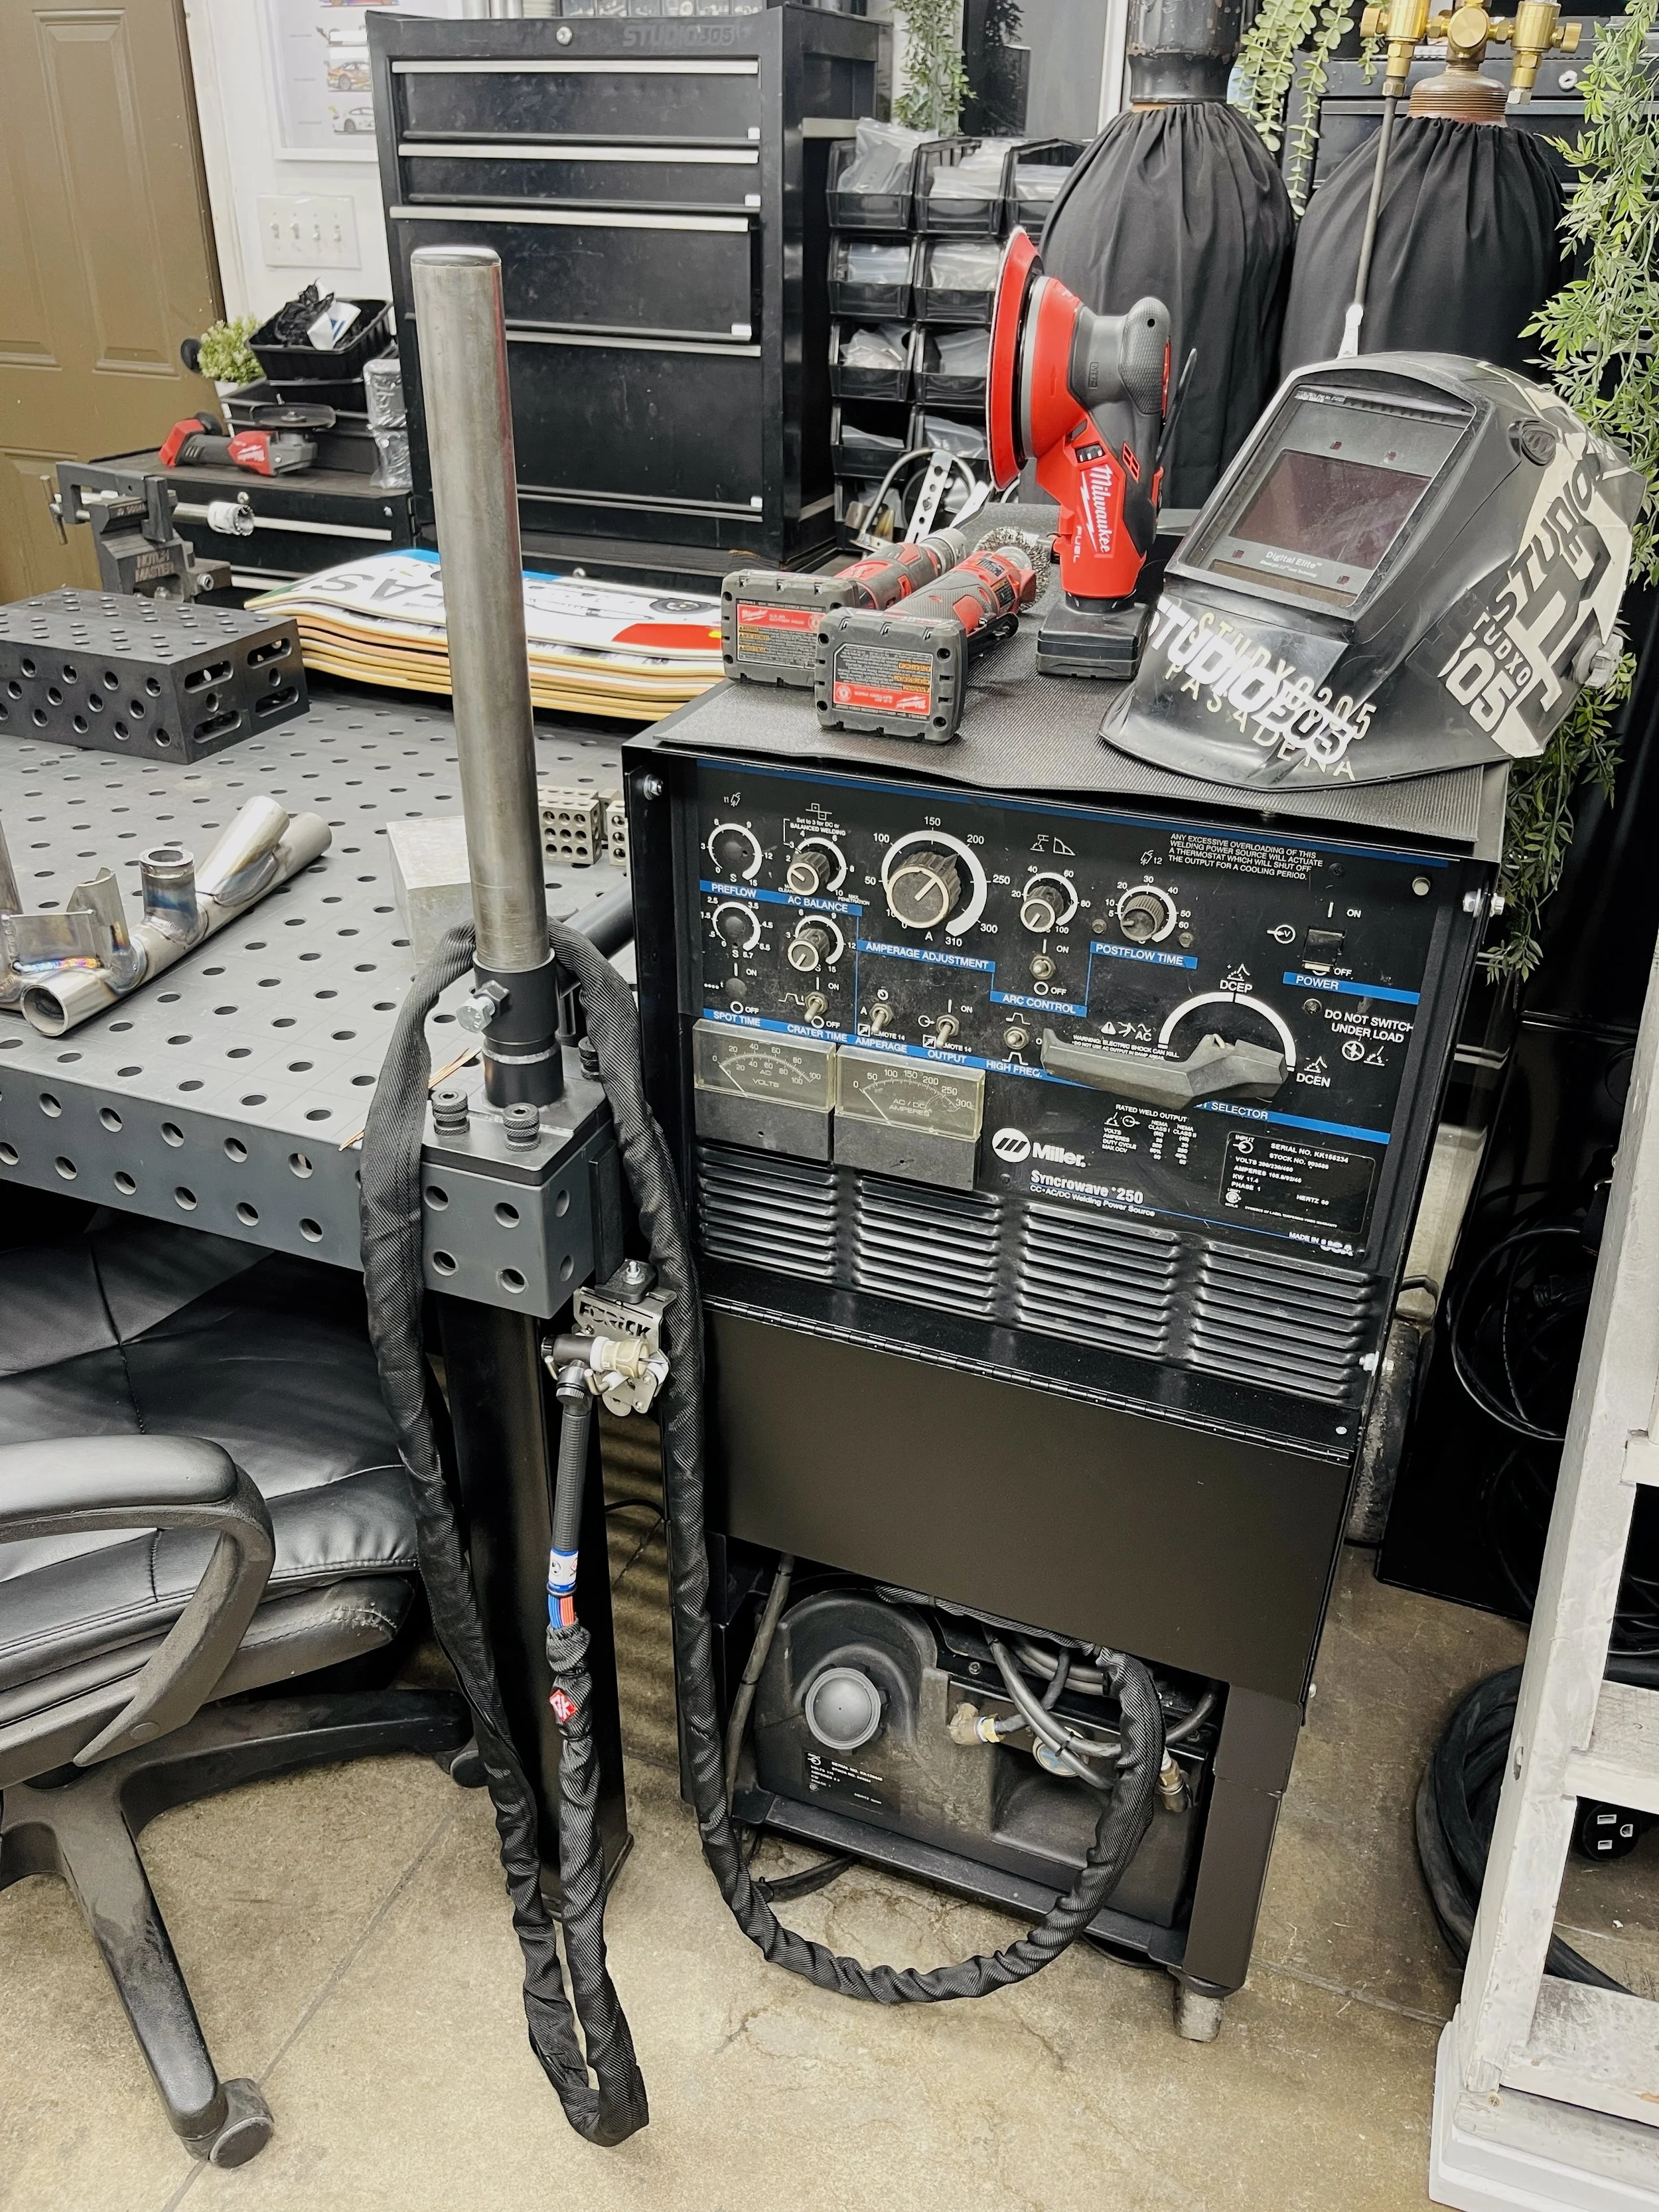
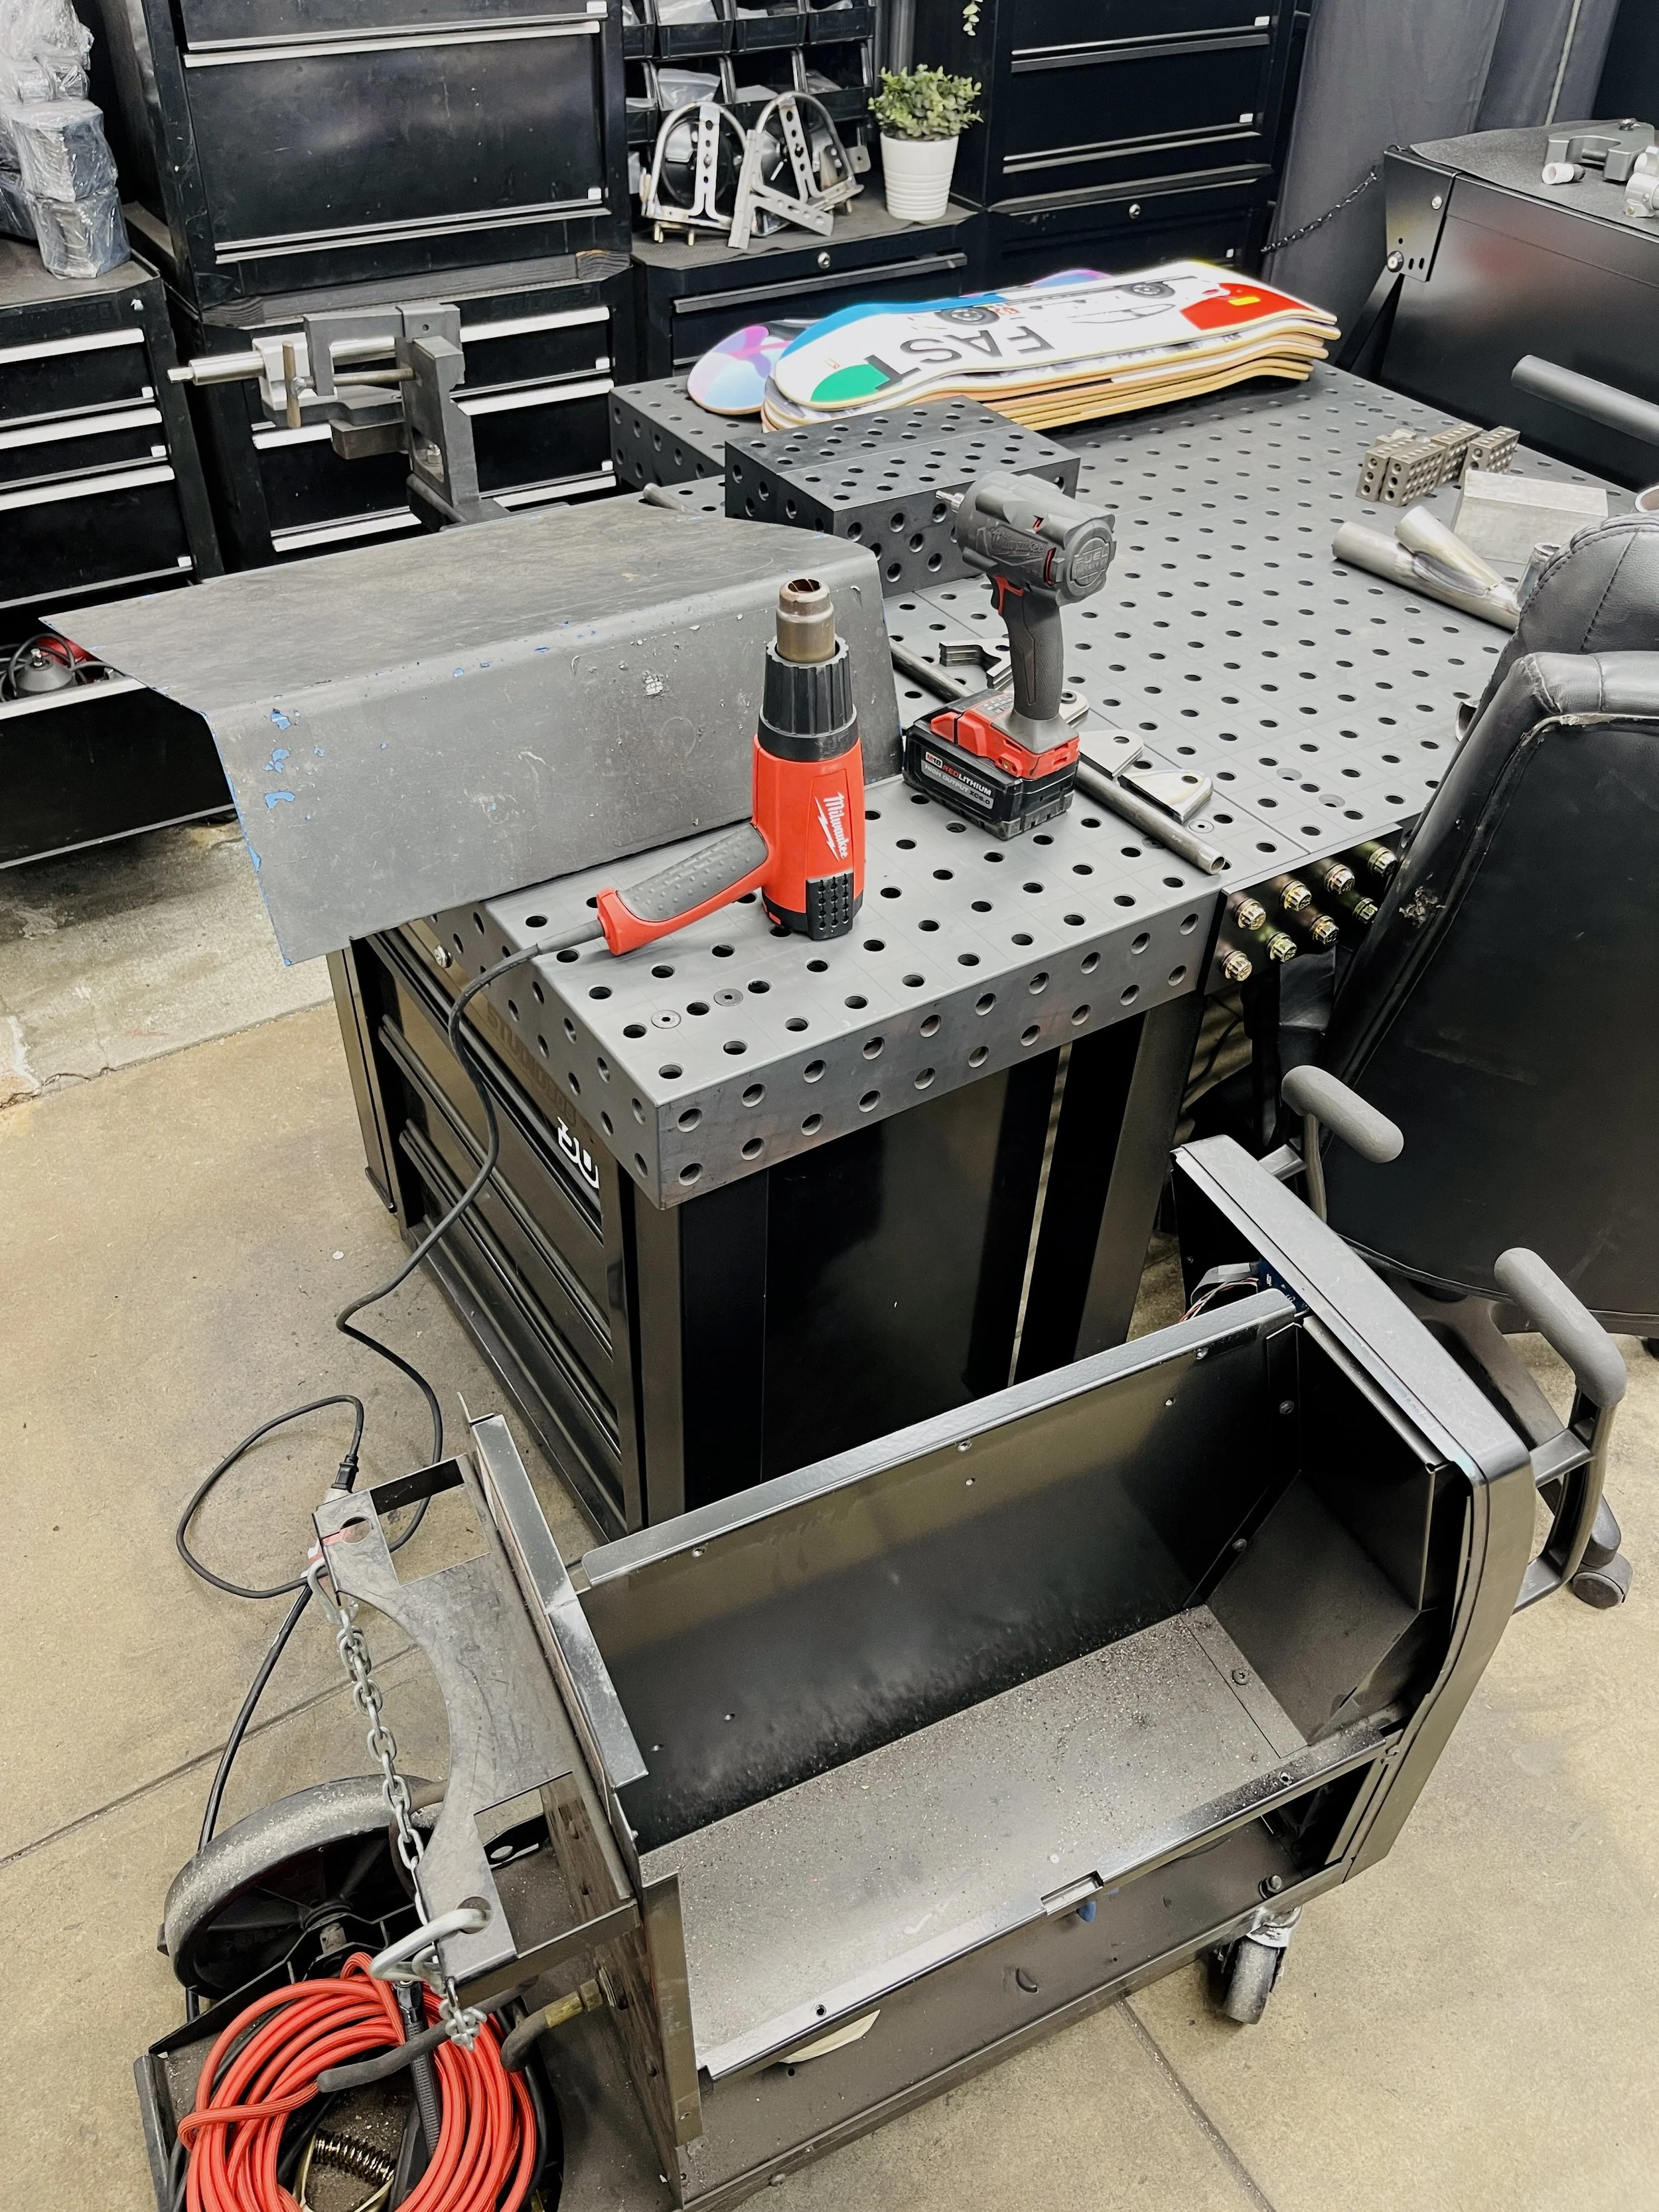
All tidy and in its more or less final resting spot. I had designed and welded up a push/pull handle bar for the top edge but opted out on mounting it as this is where I’ll have the machine setup long term. This beast ate up a lot of room, so I trimmed out a pad for the top to utilize that area. A quick 3D print also allowed me to get the carrying hook up top filled in.
With the bigger Syncrowave finished up, I was onto the Syncrowave 210 and getting it torn apart. The same treatment was in order. Blacked out, fresh hardware and new lines/fittings. Granted, this machine is nowhere near as old as its counterpart(8yrs vs 26yrs), I’ve used this machine nearly 365 days of the year since buying it in 2017.
Cleanup for this one involved pealing off all the Plasti-dip I’d sprayed on the day this was delivered. In part, the panels were kept safe and had no major scarring or defects despite serving as shelves whenever I had this wheeled out next to a project.


Panels reinstalled, fresh lines and fittings ordered, and another bottle picked up for this machine. We are back in action! I plan to 3D print some inserts to fill the pockets for the other handle - space is a premium here, and keeping things slim helps in more ways than one.