
BMW E36 - CHANGES
…and then there were changes.
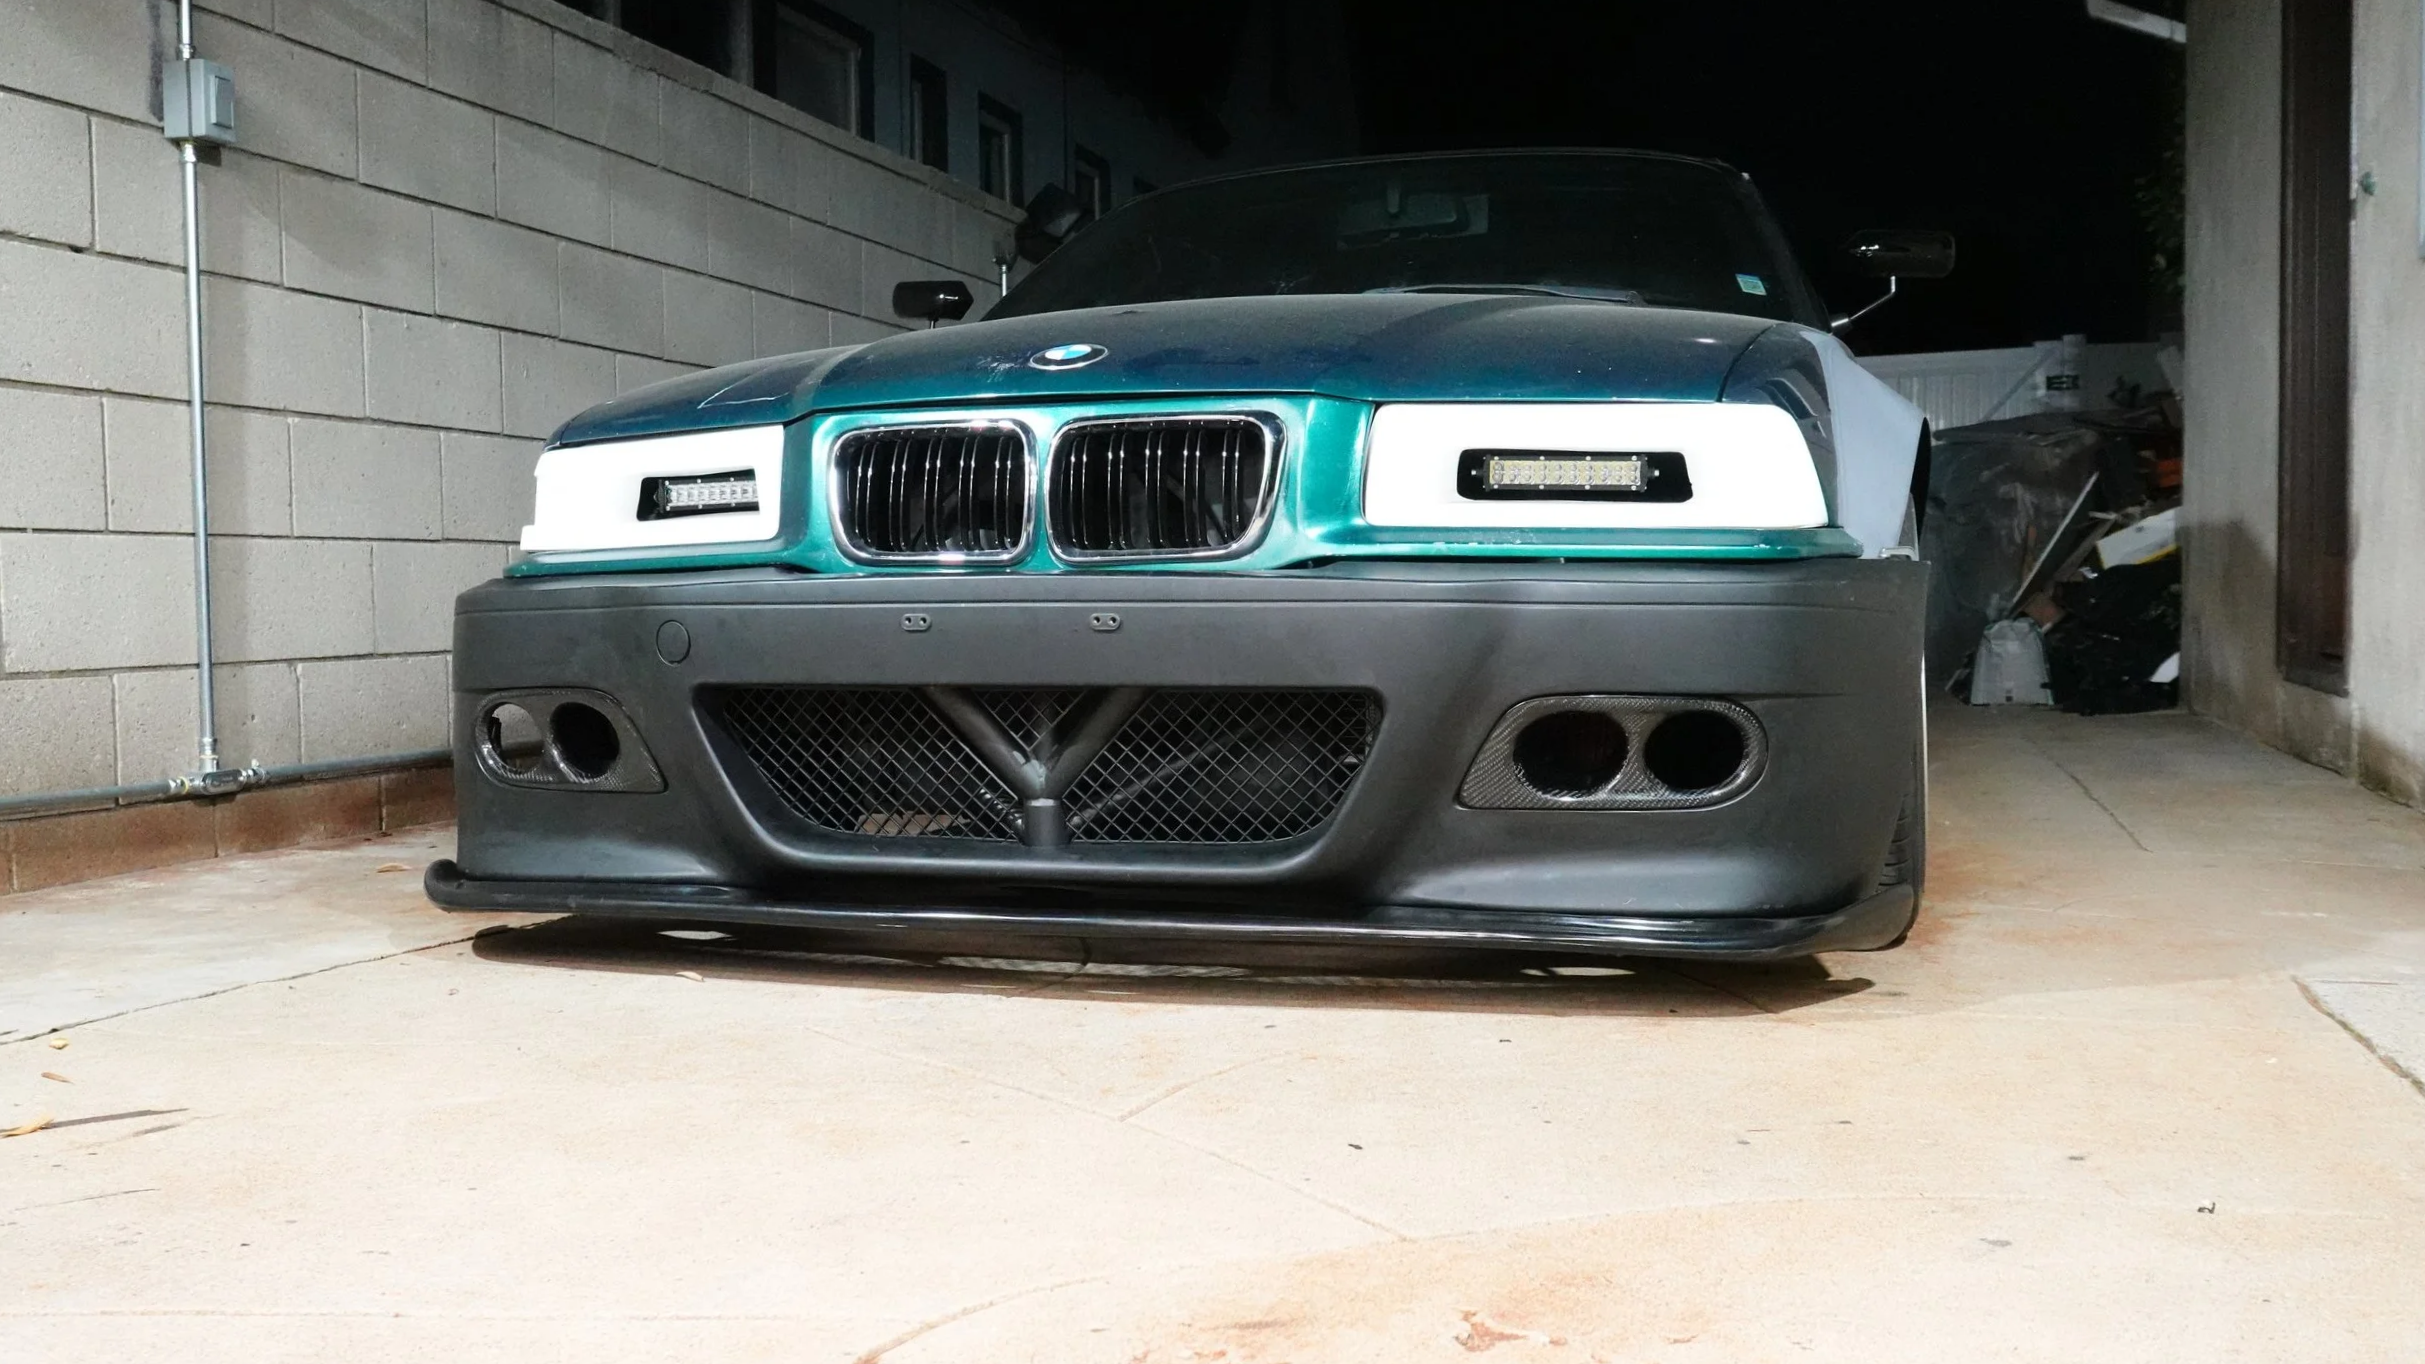
Change is often good, and in this case things are coming along just great. The previously installed fiberglass front bumper, although it looked good, proved to be rather difficult in mounting and dismounting. In addition, getting the front lip affixed required a lot of modifications to both said bumper and lip. As such, the E36 was brought back to get a new bumper (ABS this time) mounted, mounts made for the side skirts, as well as a handful of other additions.
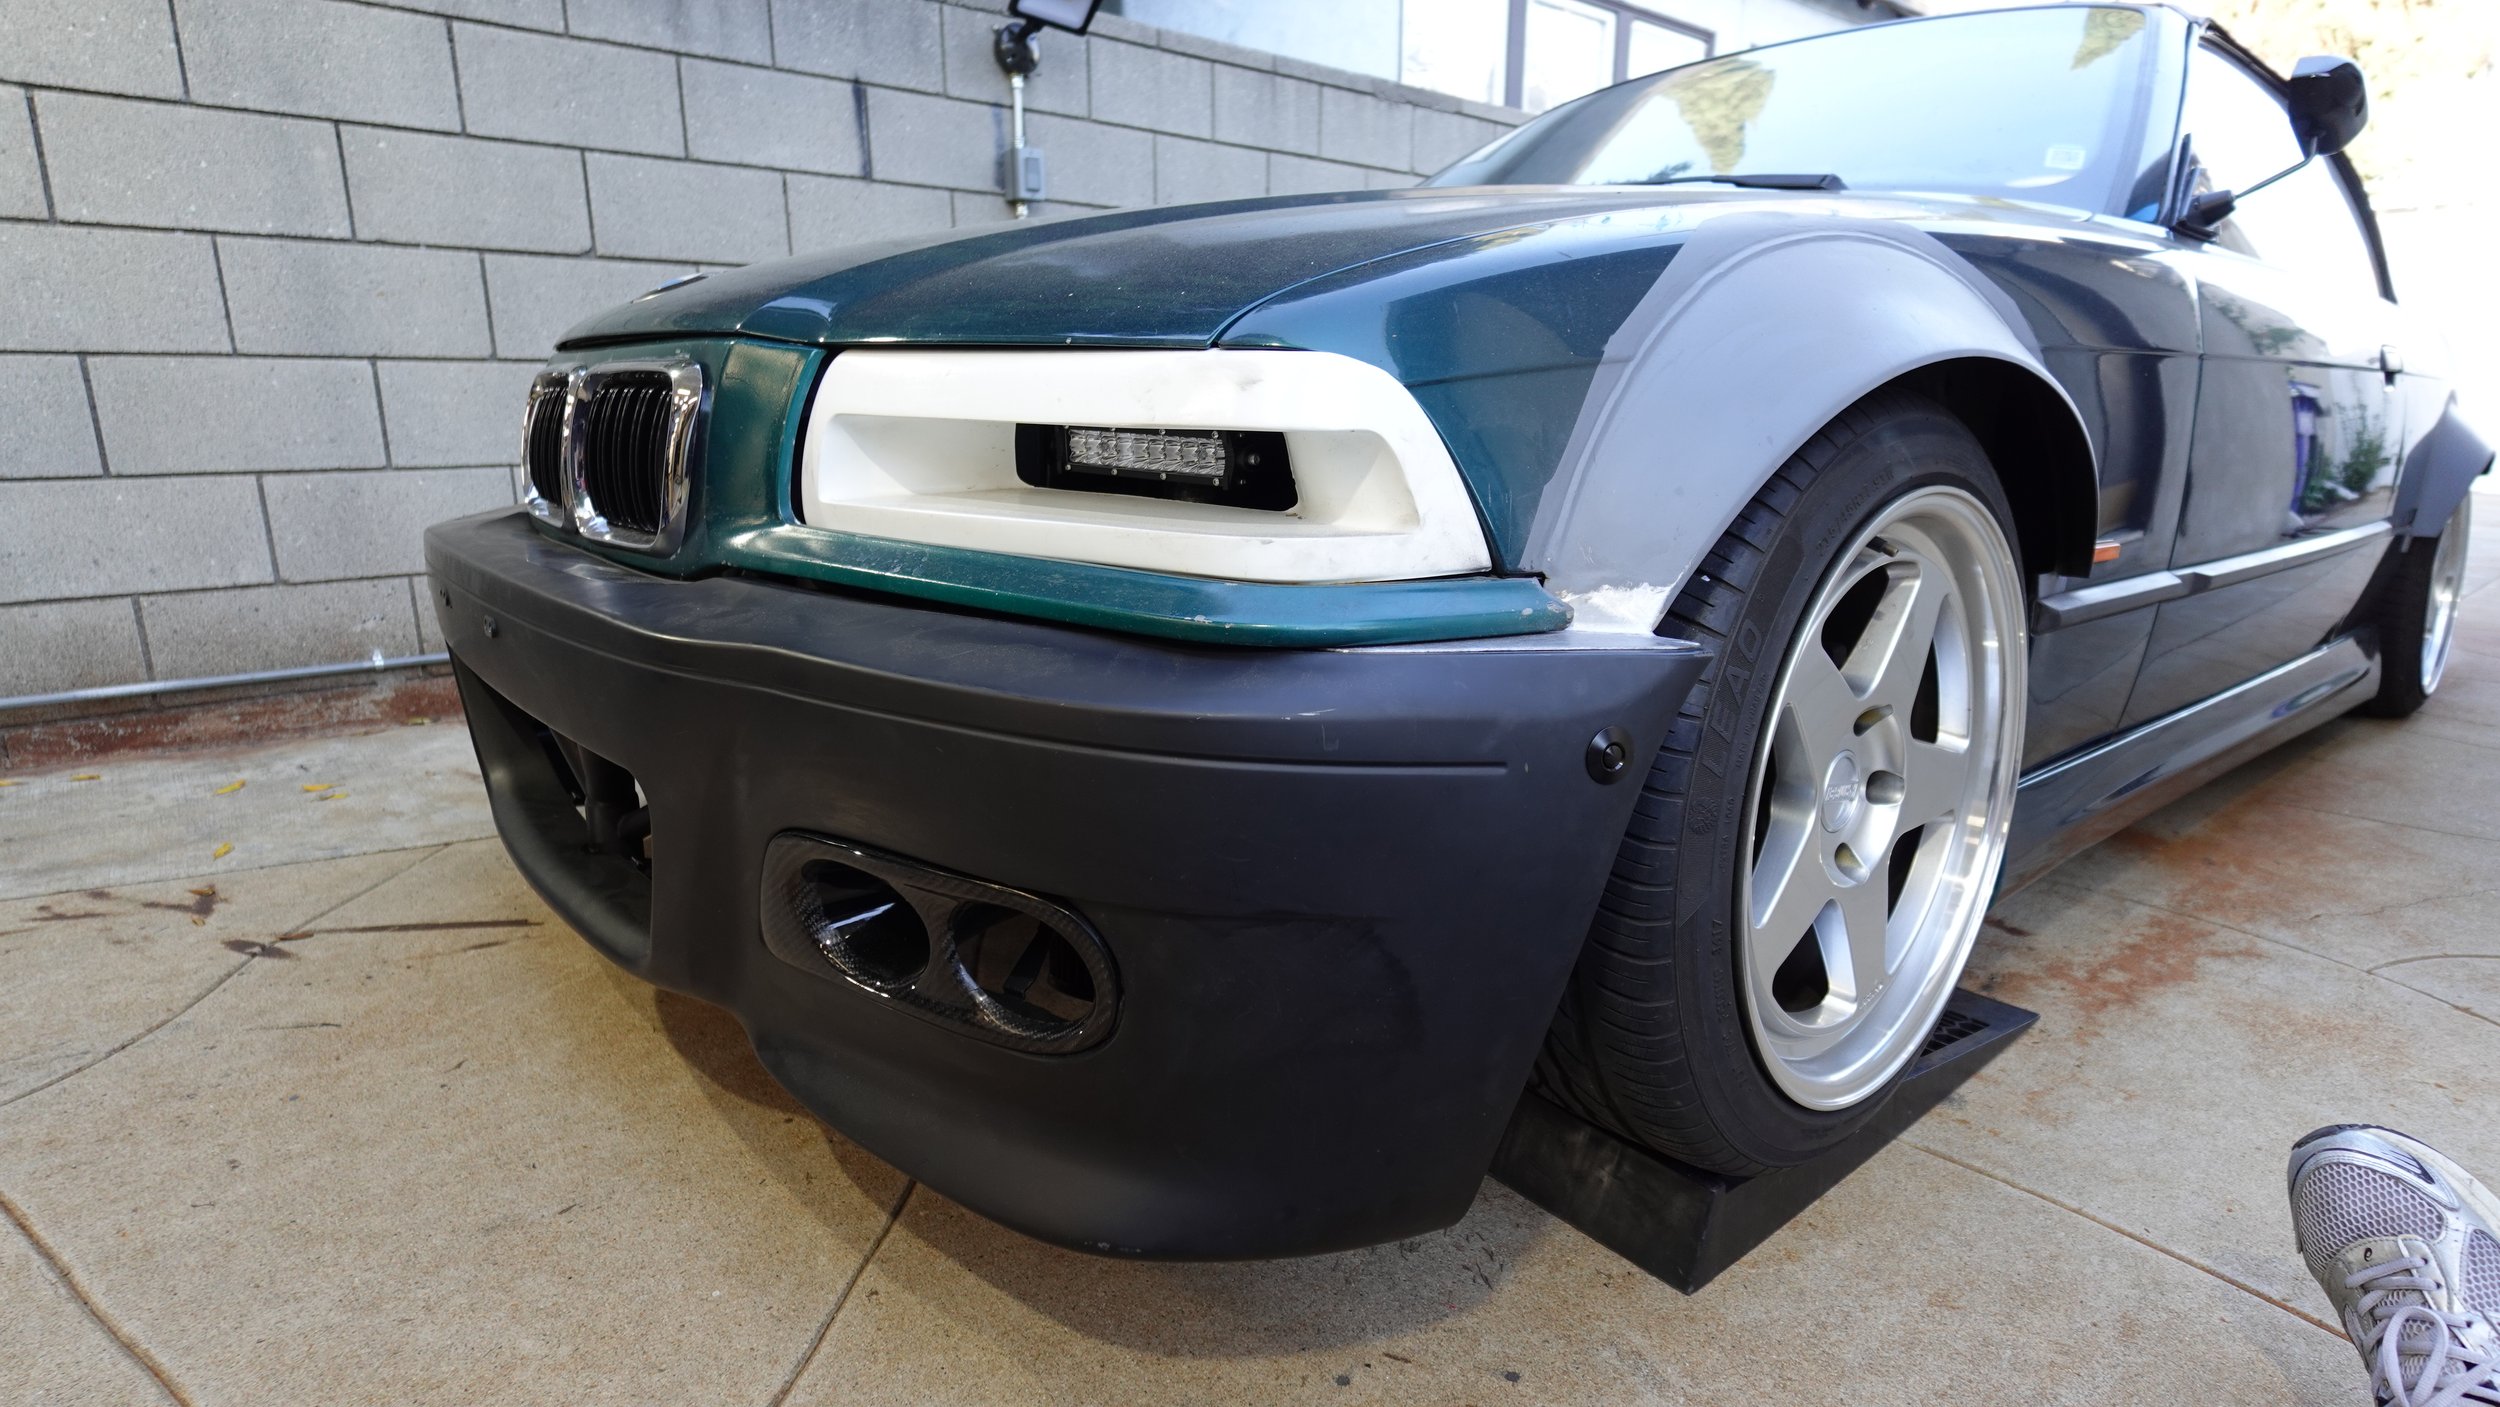
The plan for mounting this new bumper was to first design new mounts for Quik Latches to affix the sides of the bumper, cut out the front grill to clear(and show off) the bash bar, and affix a lower lip with a stiffener running across the underside.
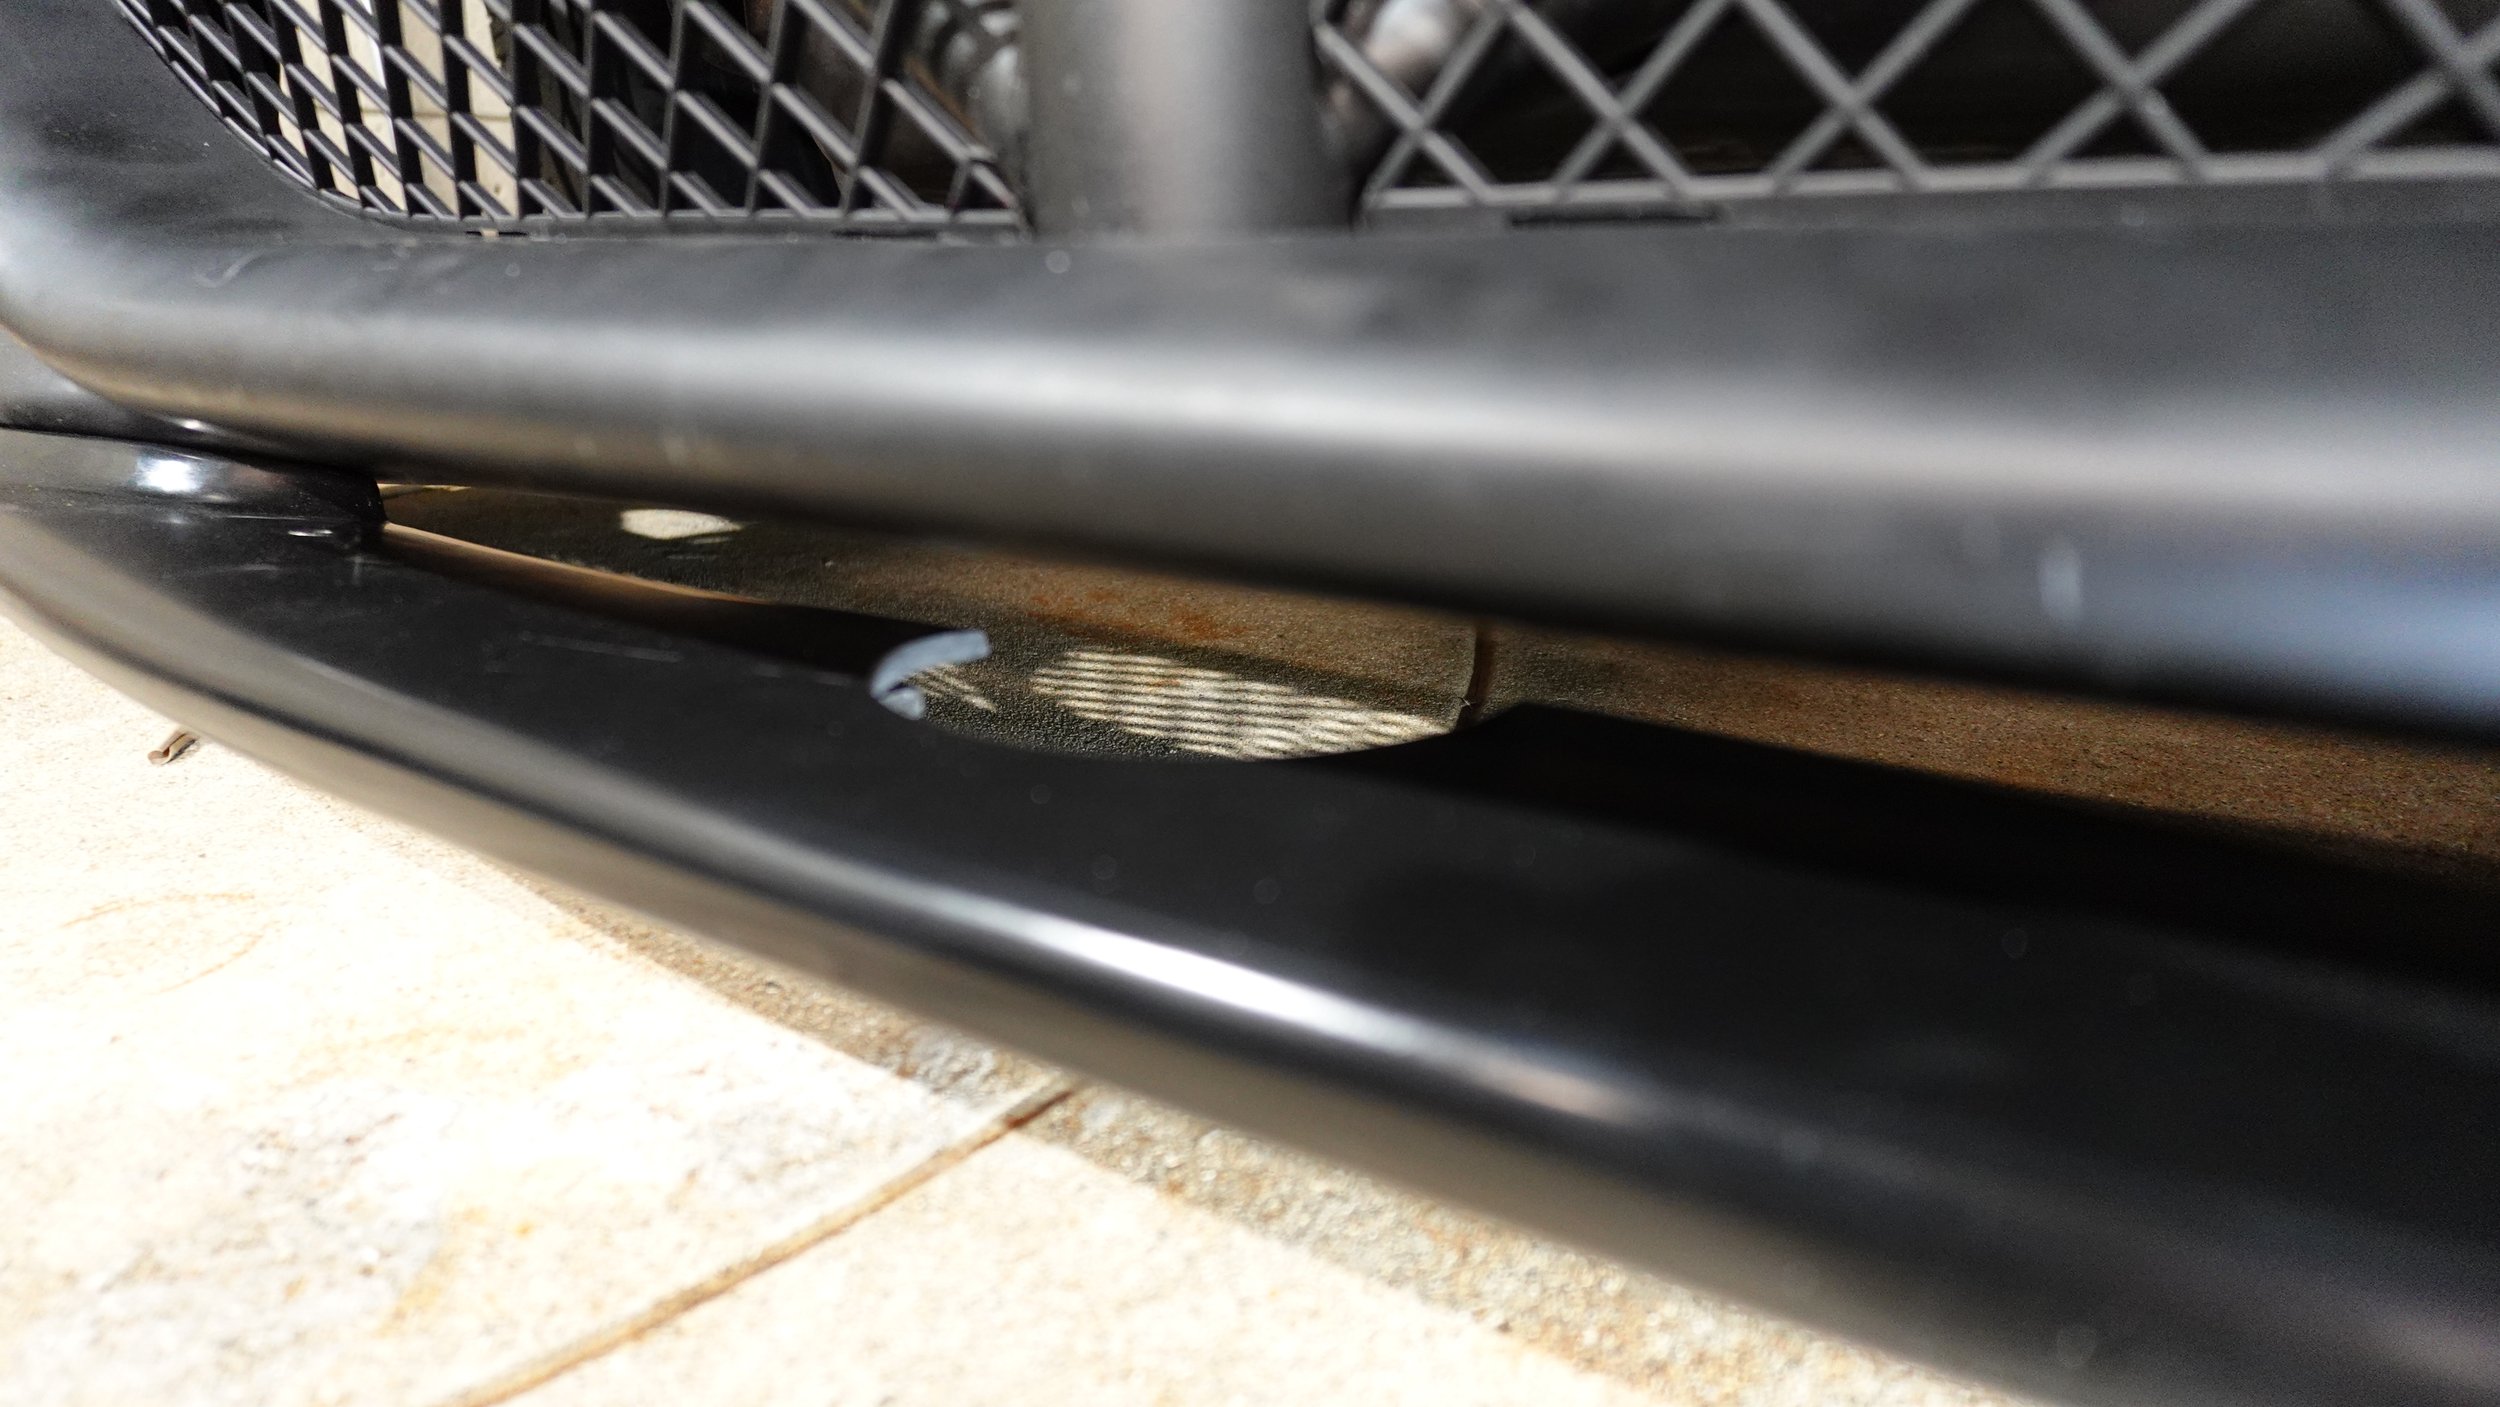
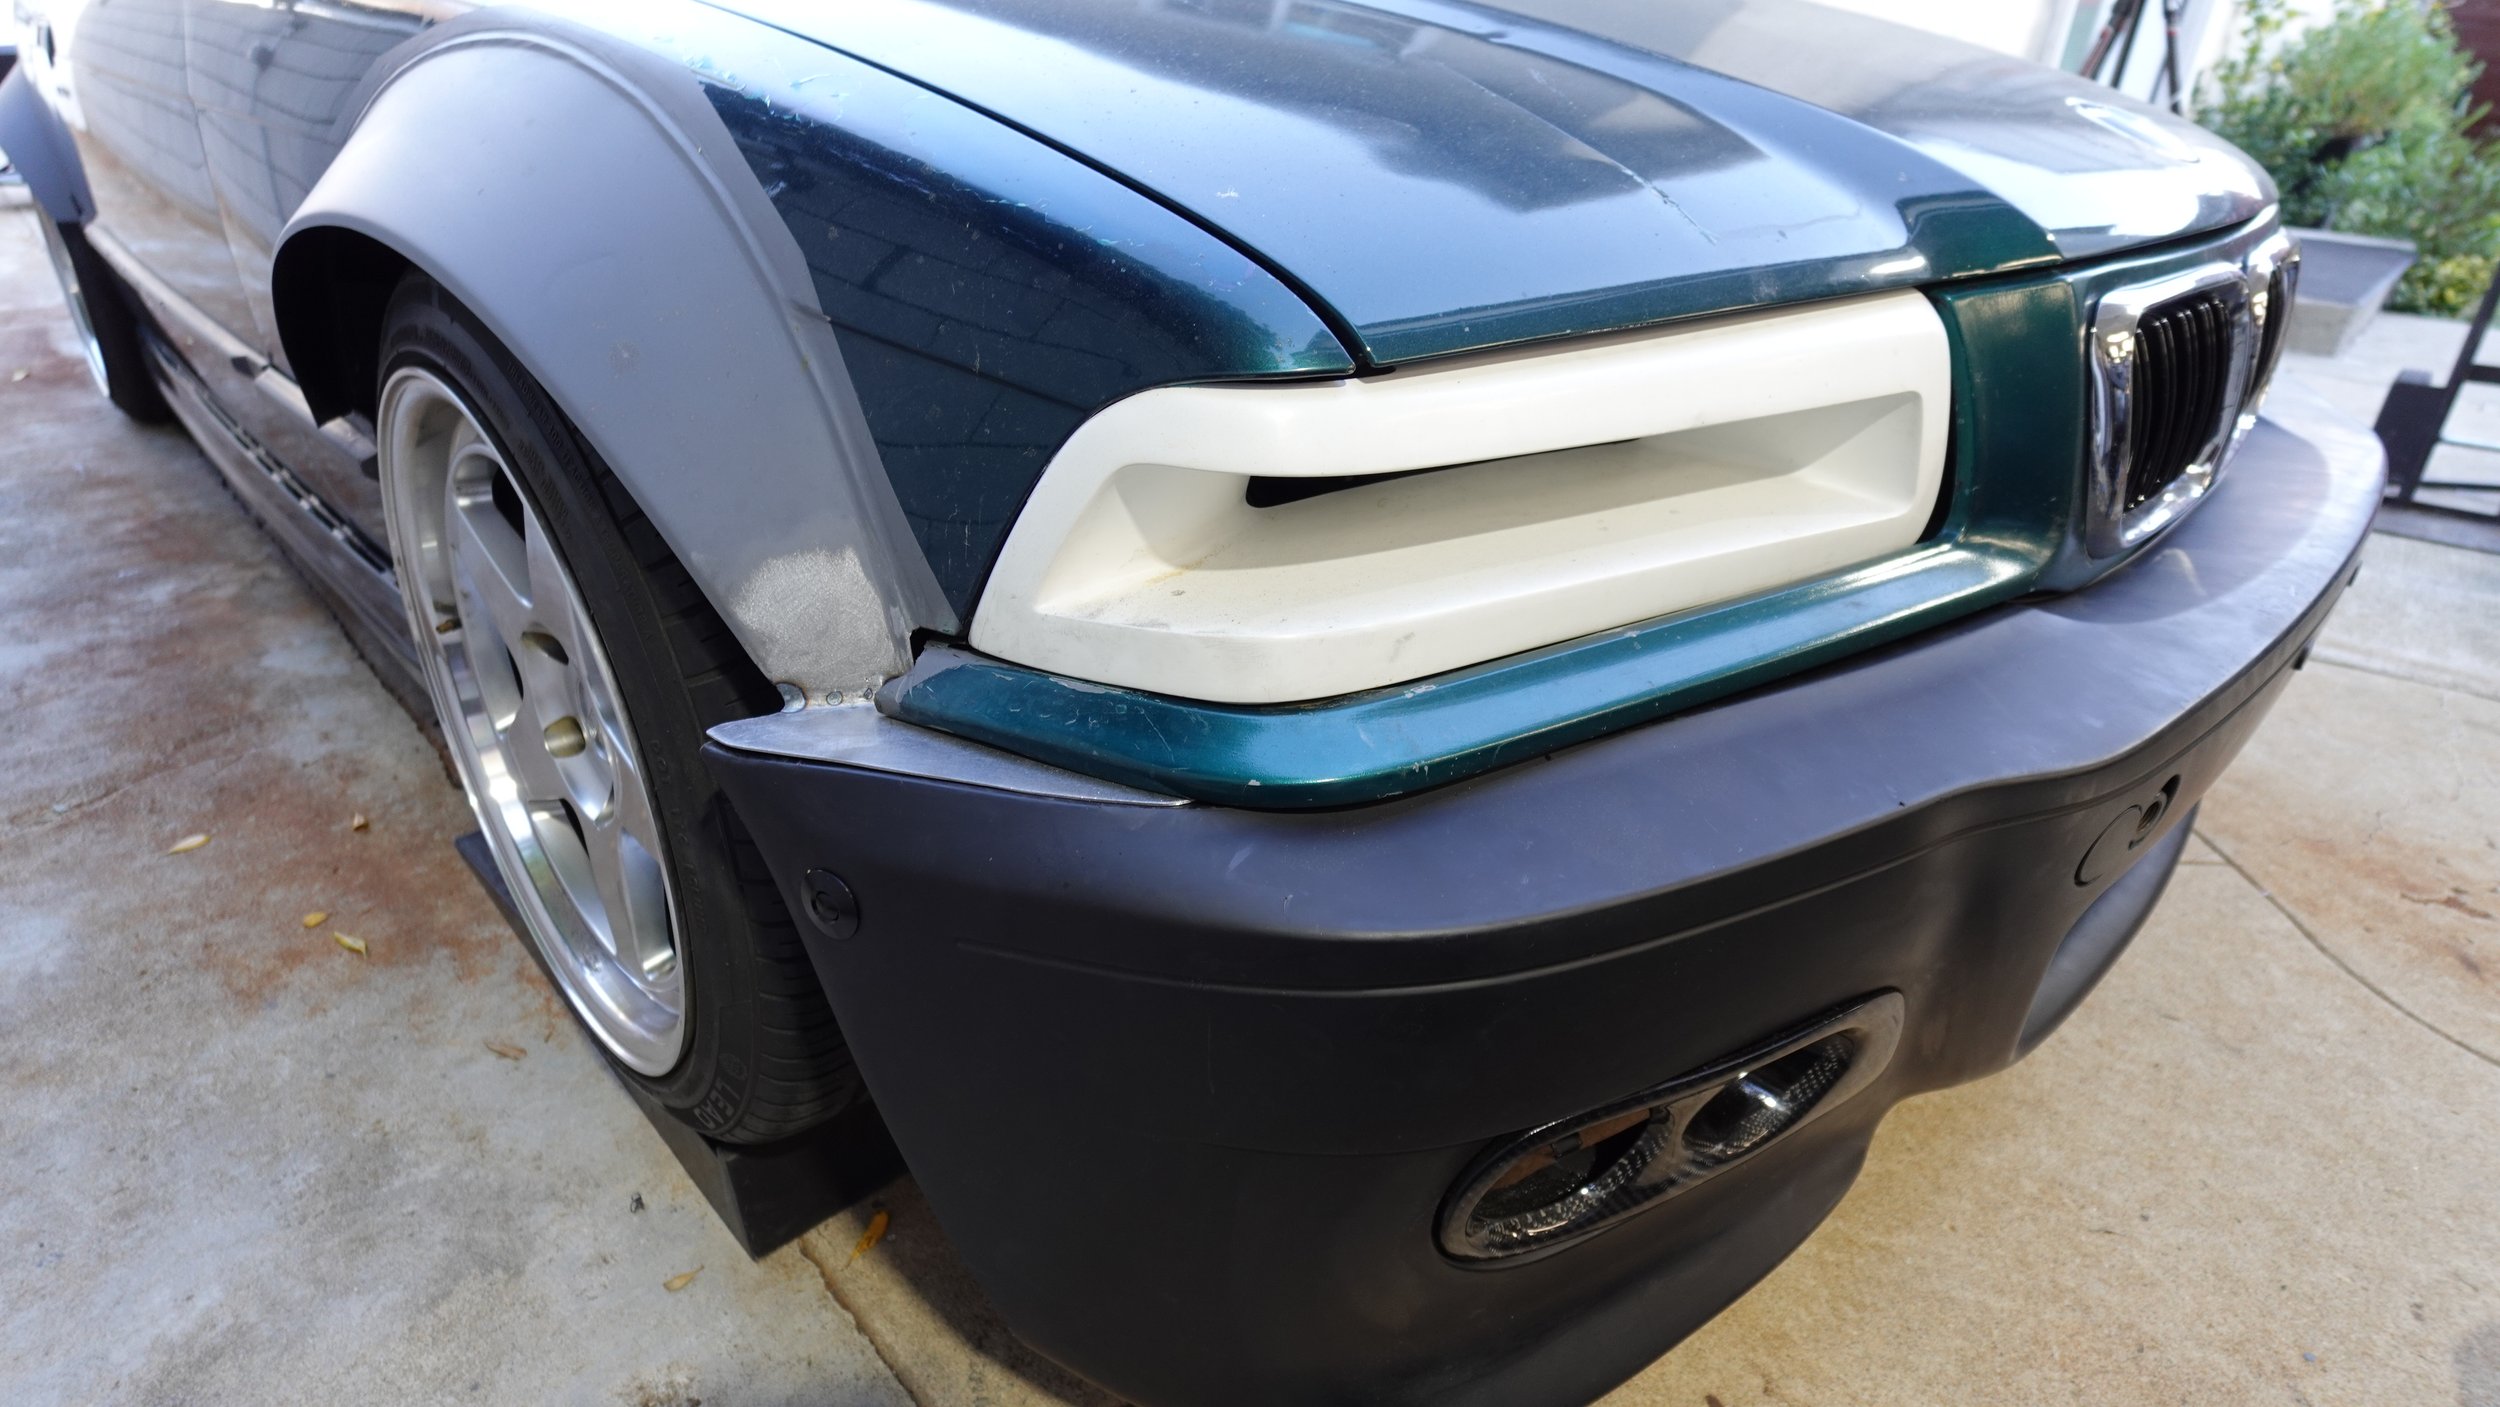
The lip was cut out for the jack pad then braced from the underside - held tightly with an undermount 5052 strip and countersunk screws. This helped stiffen up the center of the lip and also help it retain its curvature whilst still maintaining a level of stoutness.

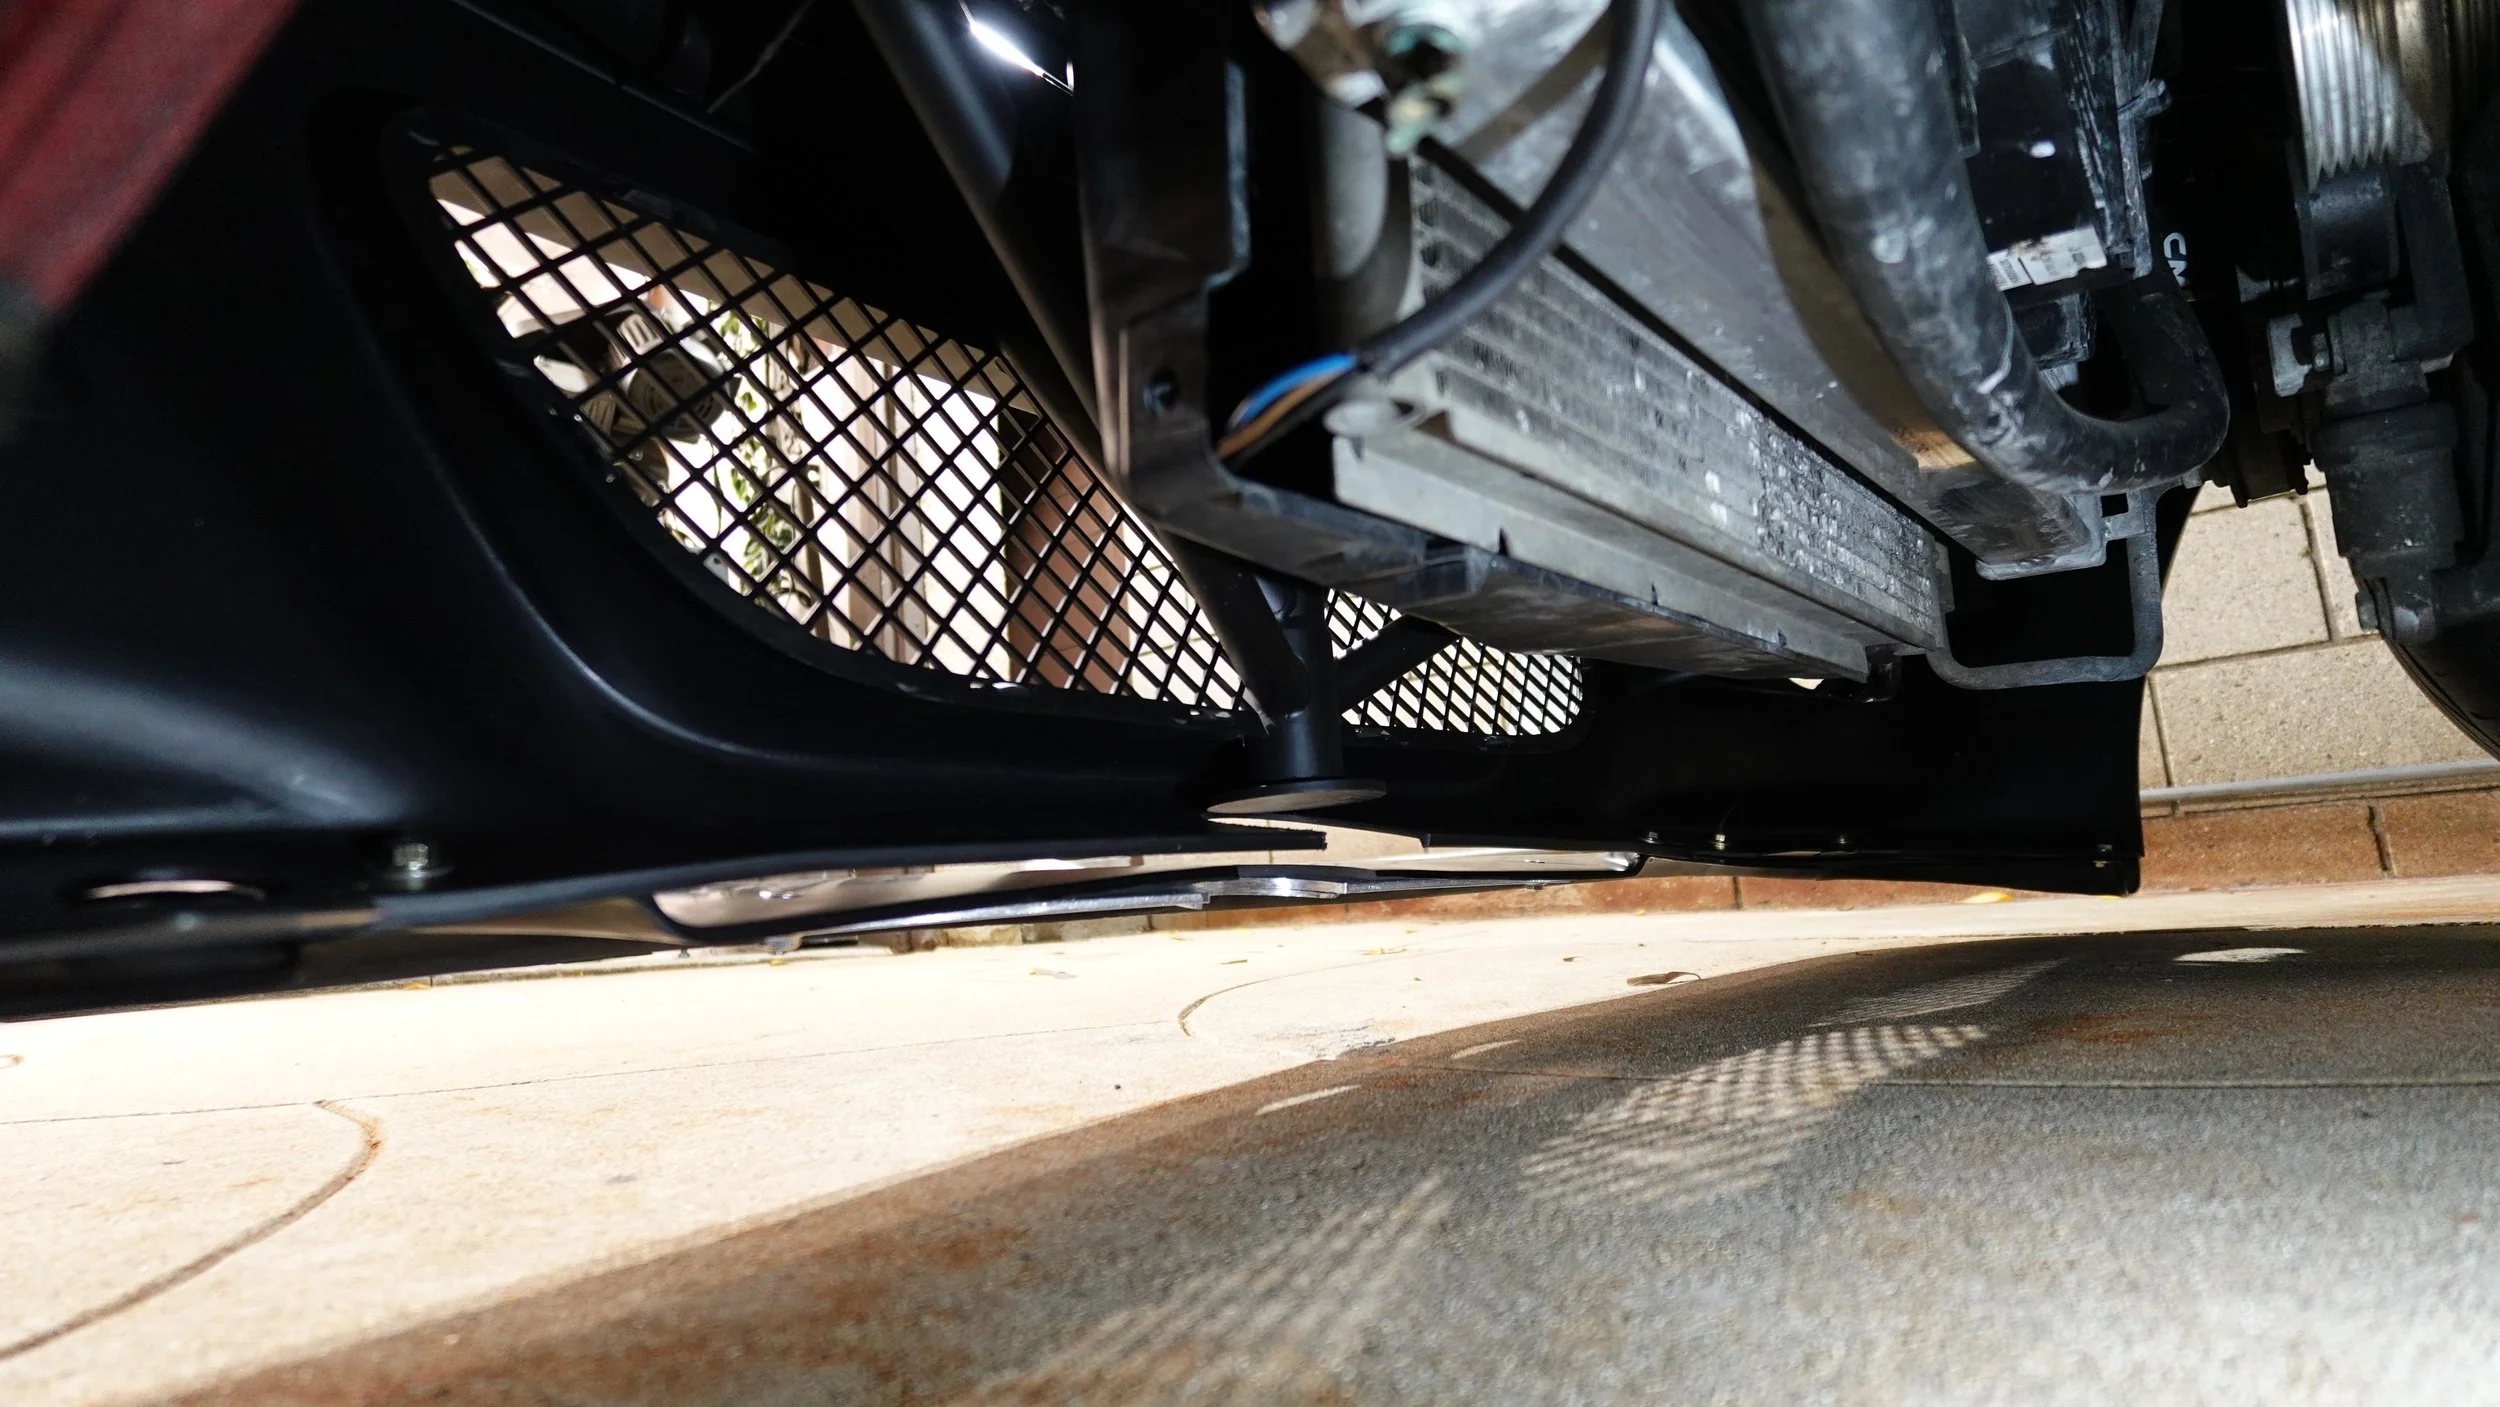
Although the bumper can be easily removed with the simple click of 4 Quik Latches, it was imperative that the jack pad could still be utilized as intended without removing the bumper or damaging the lip.
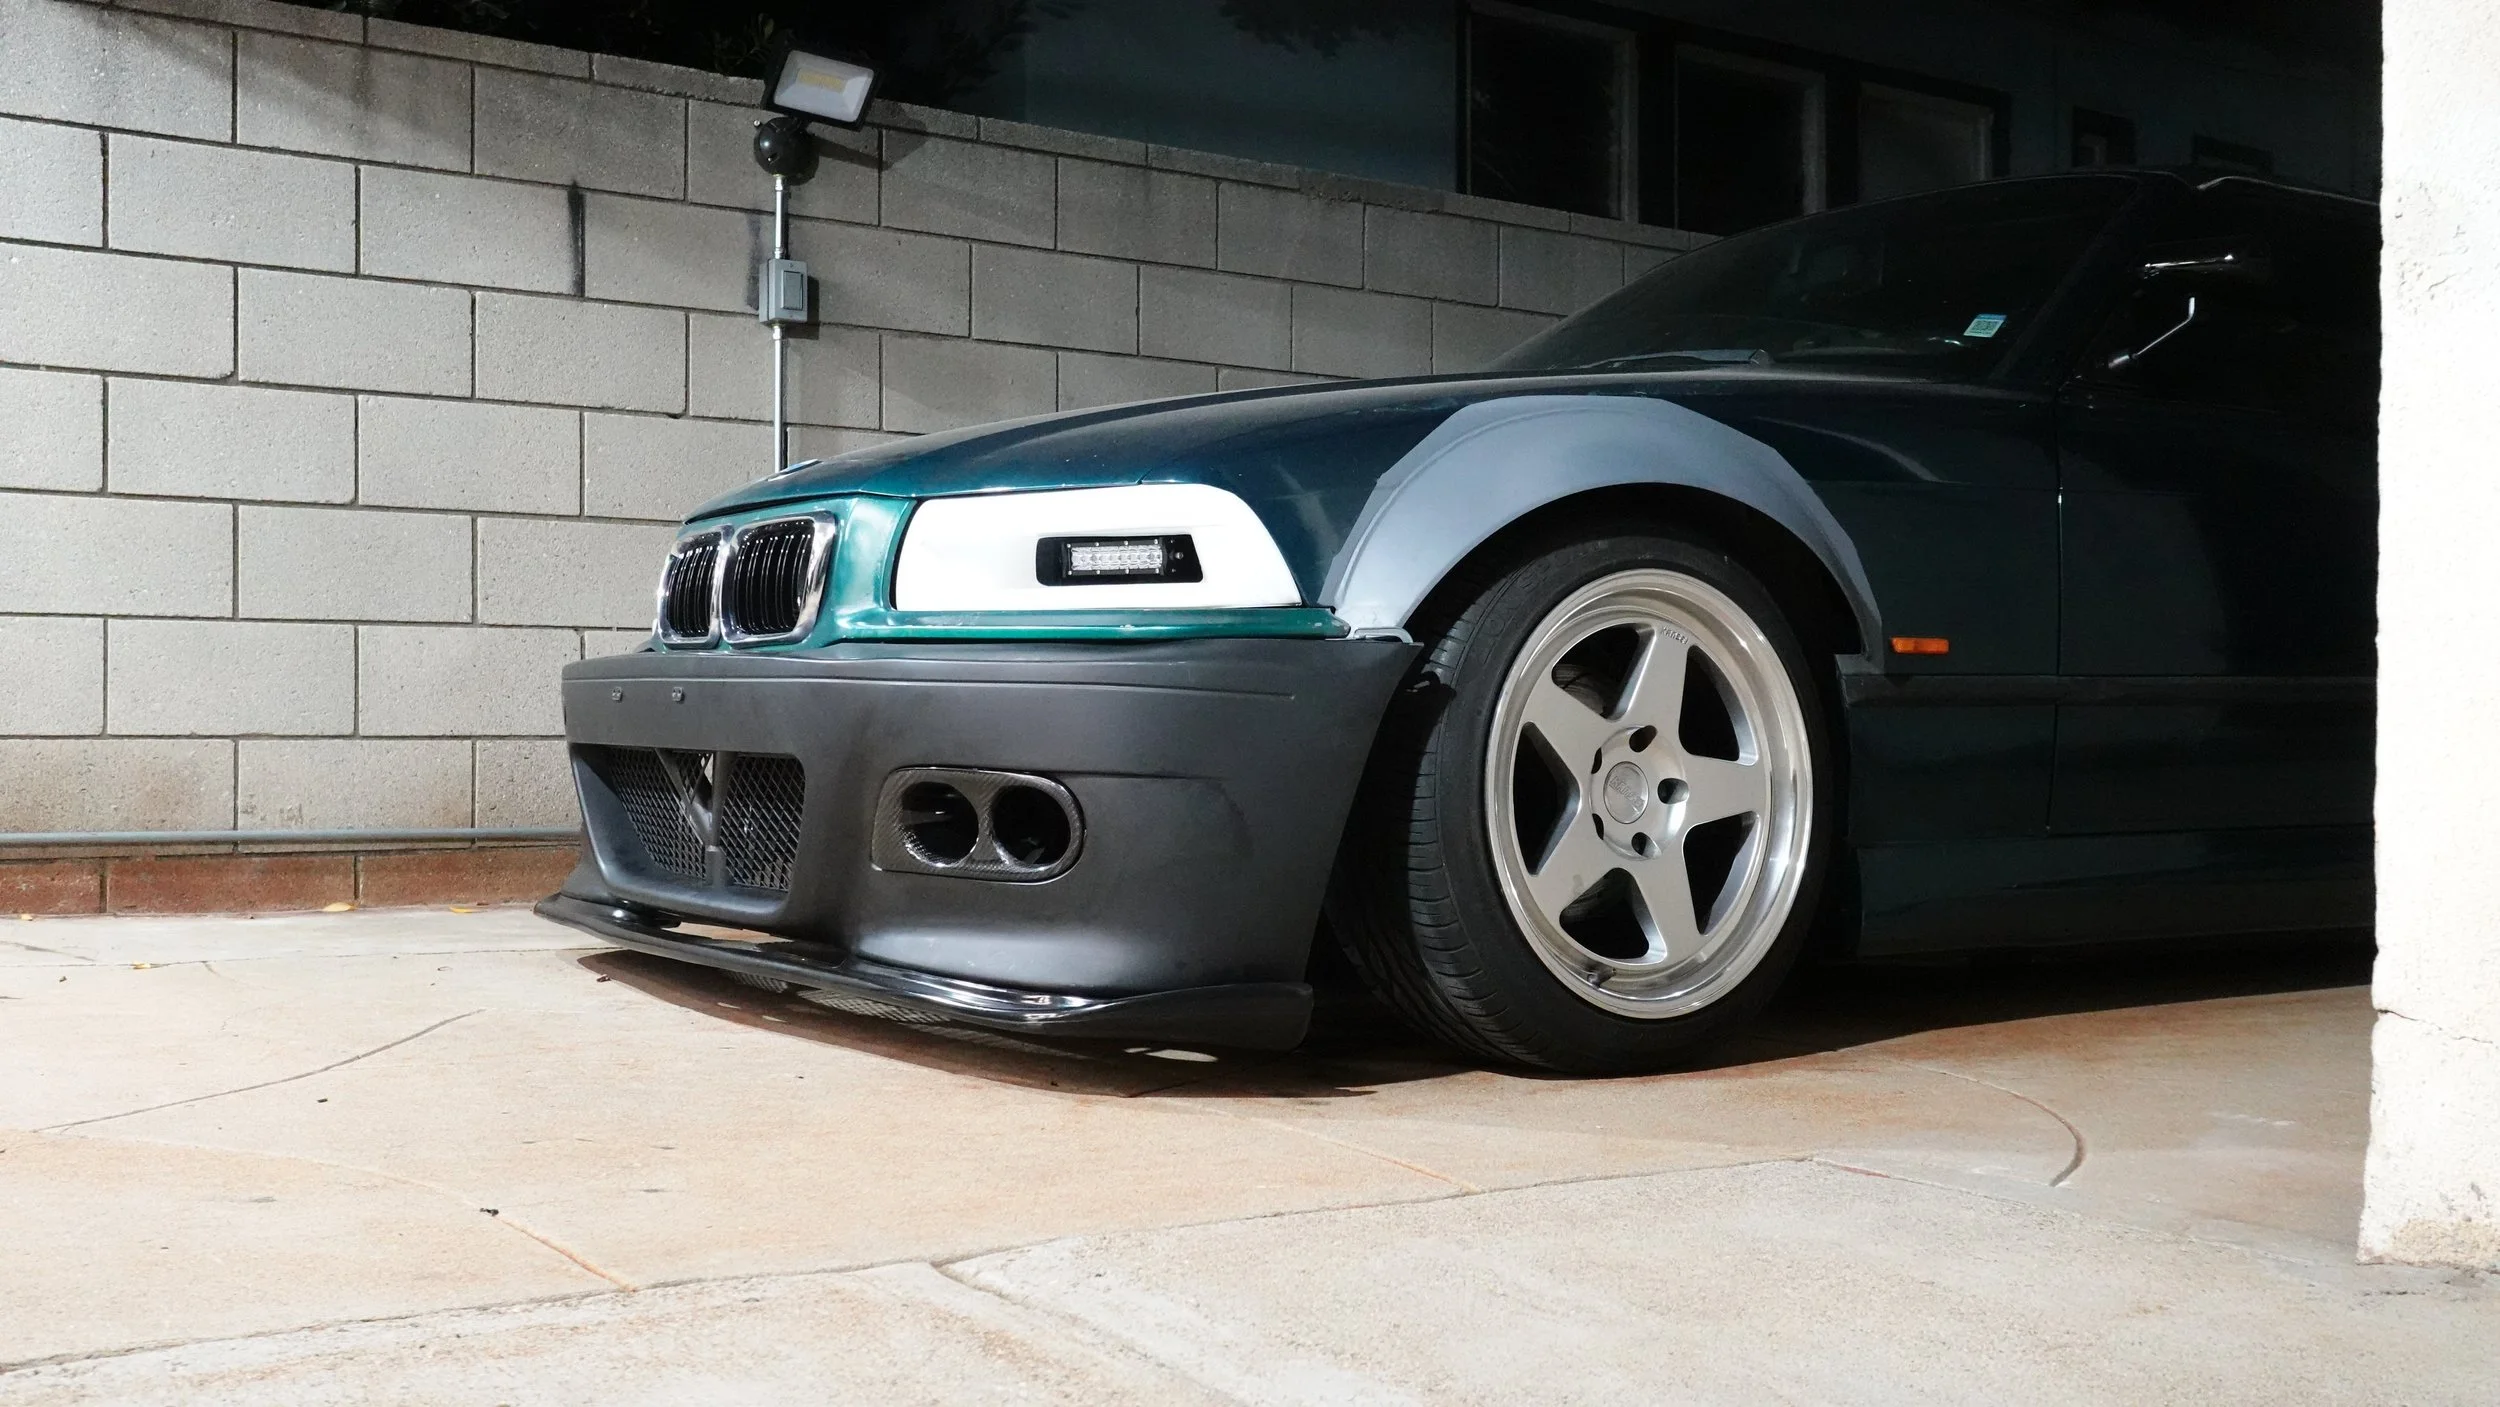
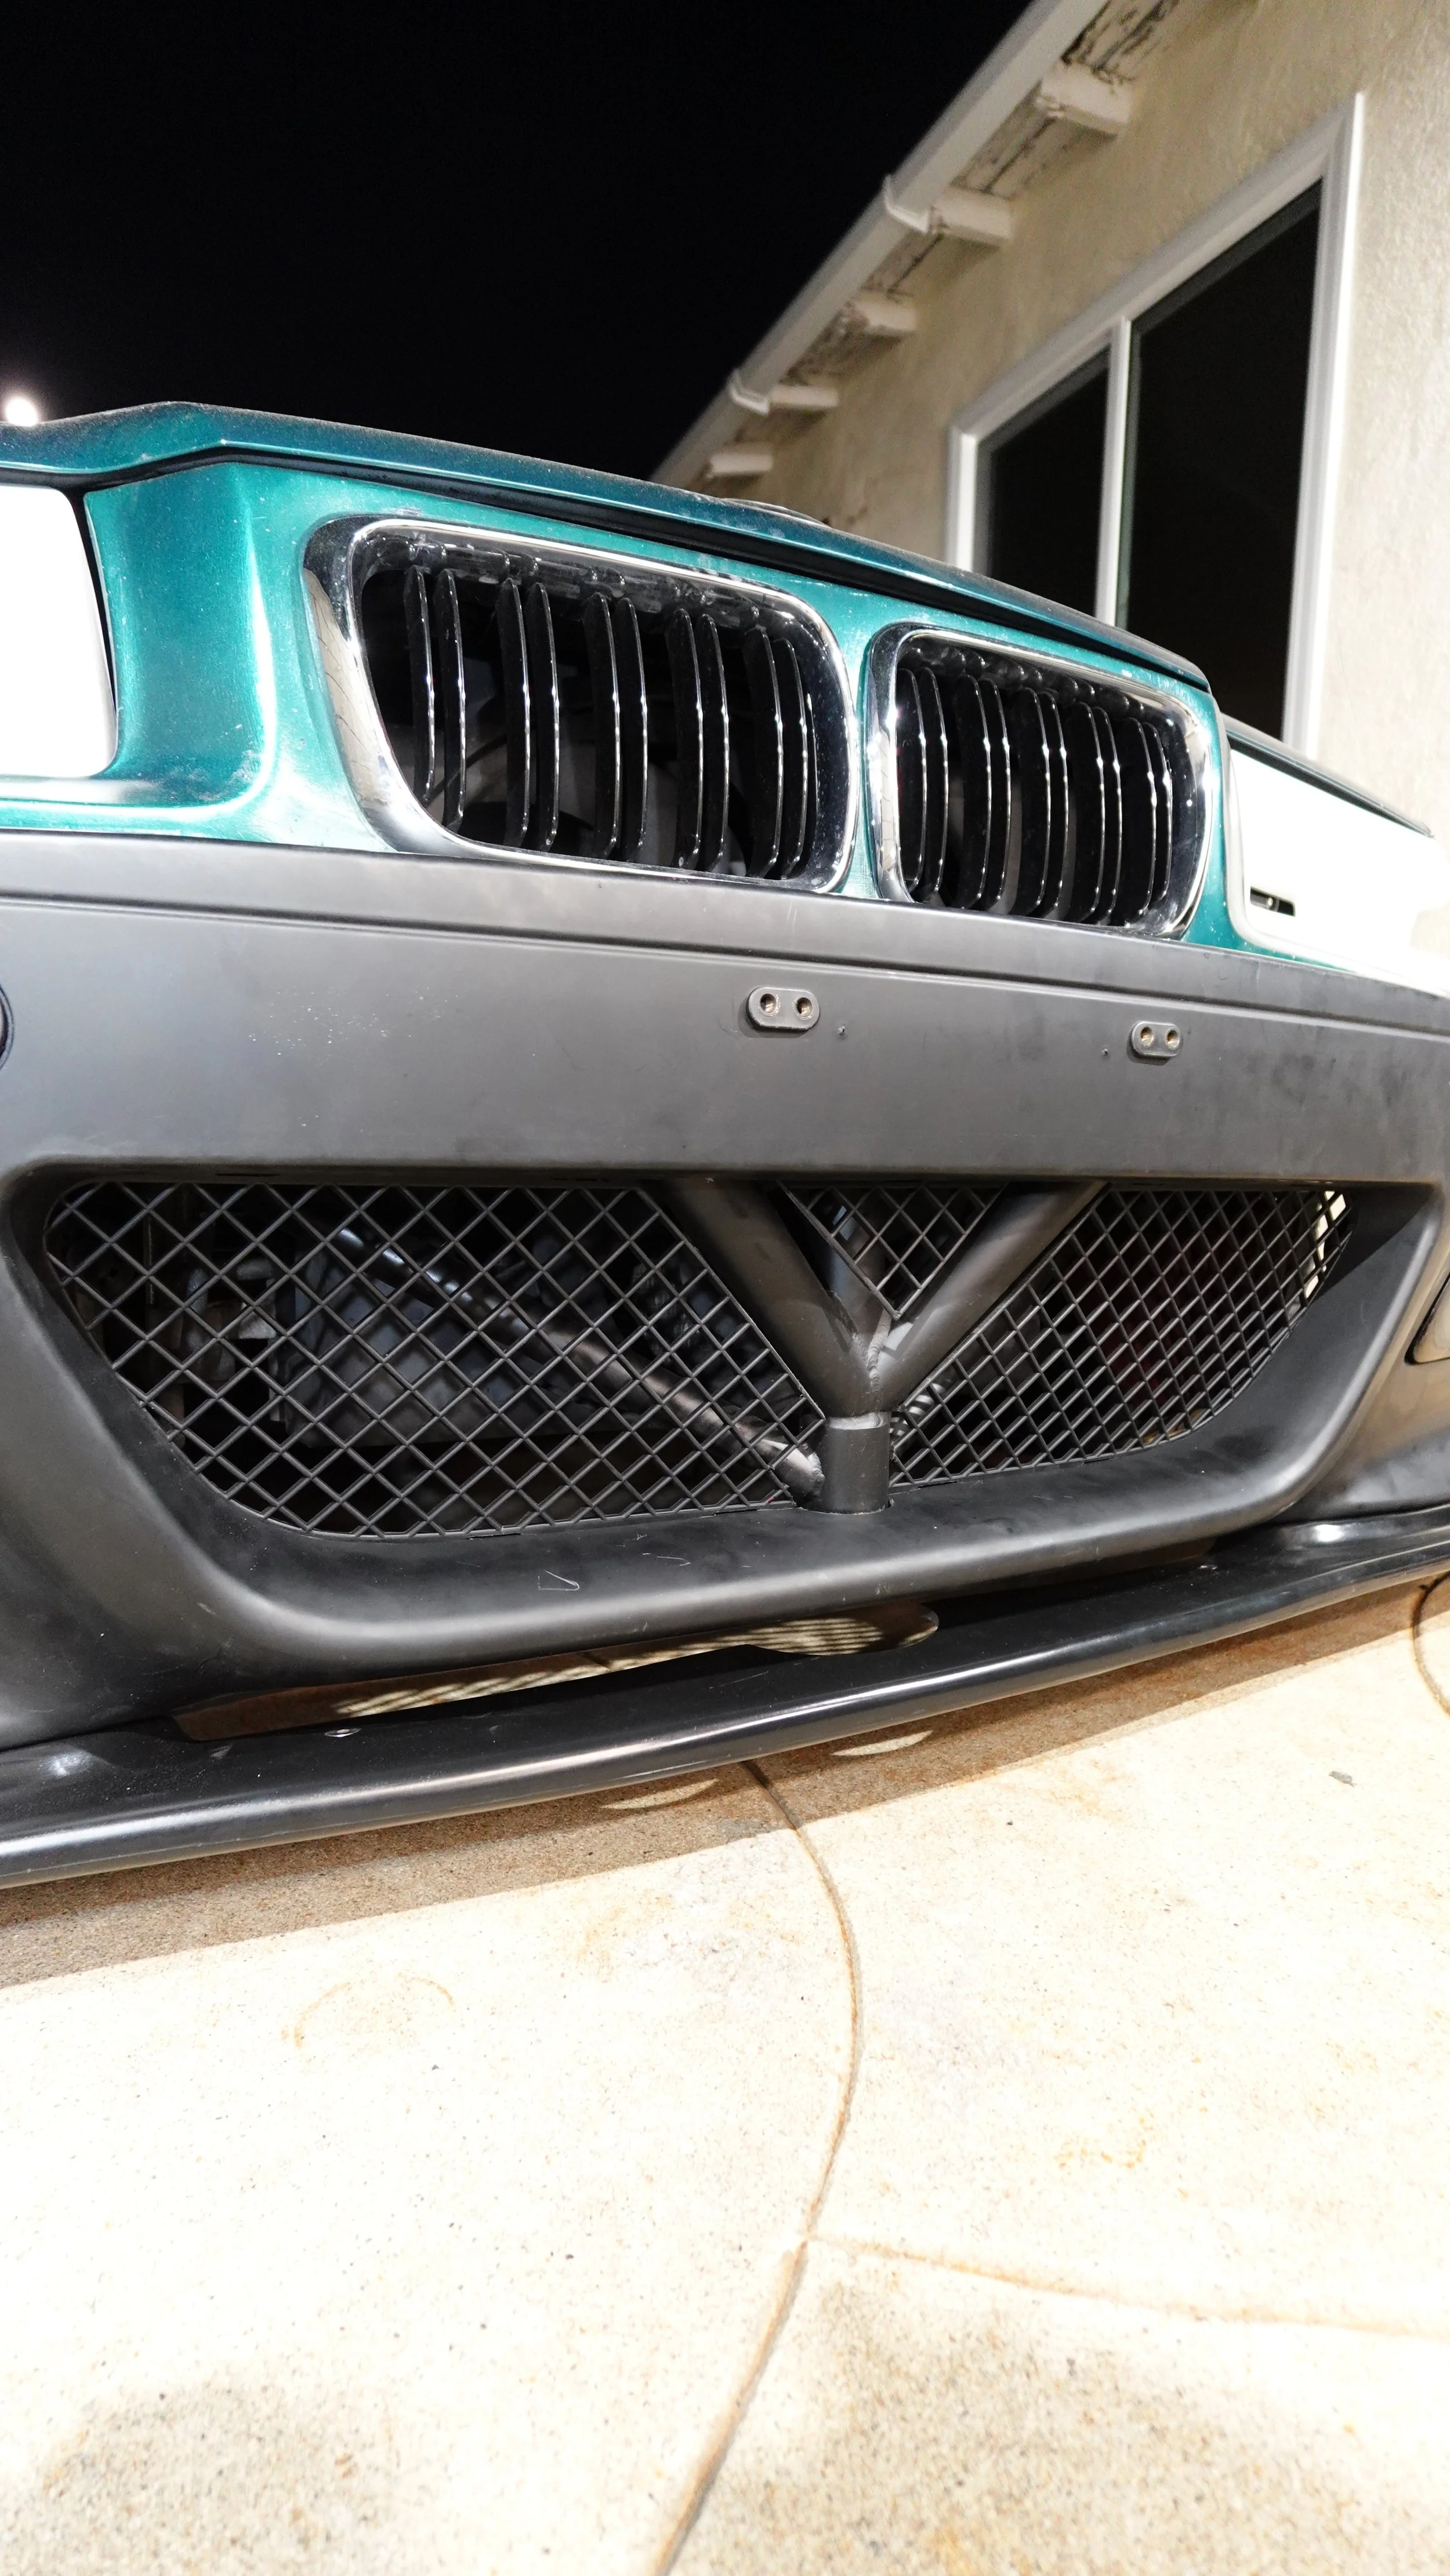
The overall look seems to match much better with the design characteristics of the body kit pieces previously installed. The inlayed grill with cutouts for the bash bar showing through really sets it off. In addition, the JSPEC carbon intake ducts really tie everything together up front.
One of the major hurdles to overcome was fitting the E46 bumper up front - the width is much wider than the E36 front end and required some double adjustable mounts. With the mounts having so much adjustability, I could place the Quik Latches in the appropriate spot. It also allowed for the correct amount of tension to keep the bumper supported and keep any gaps to a minimum.
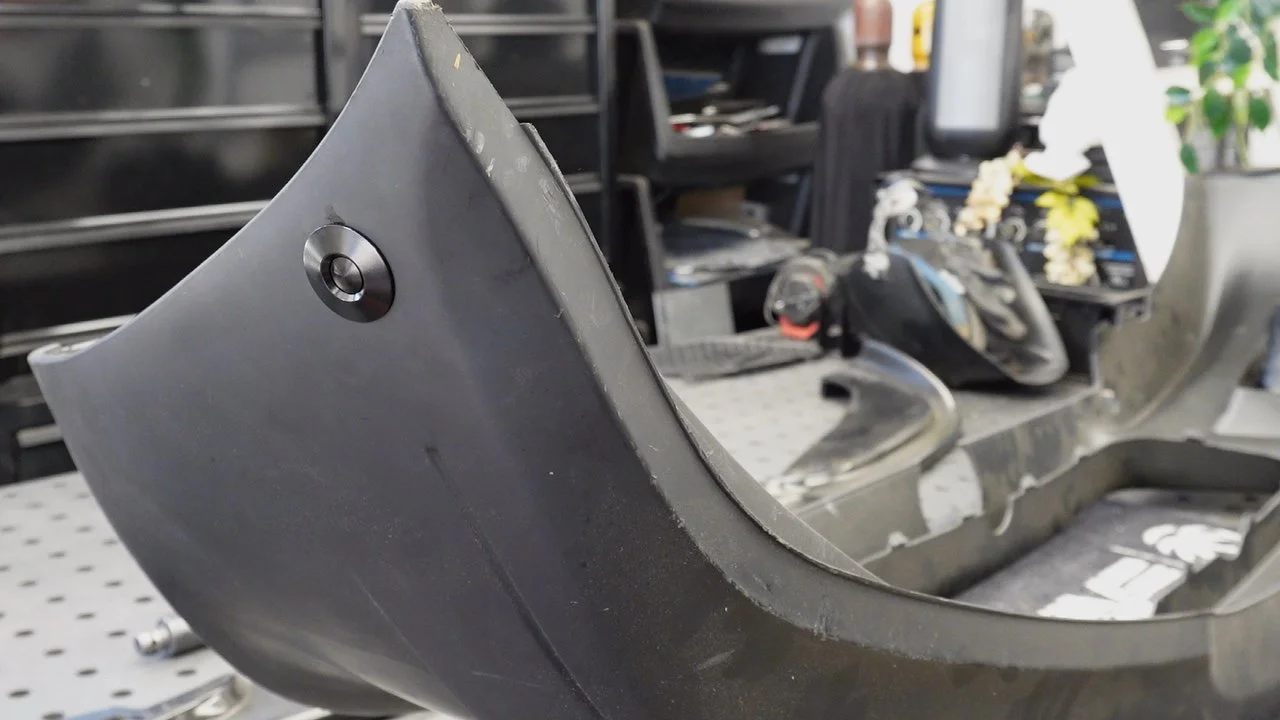
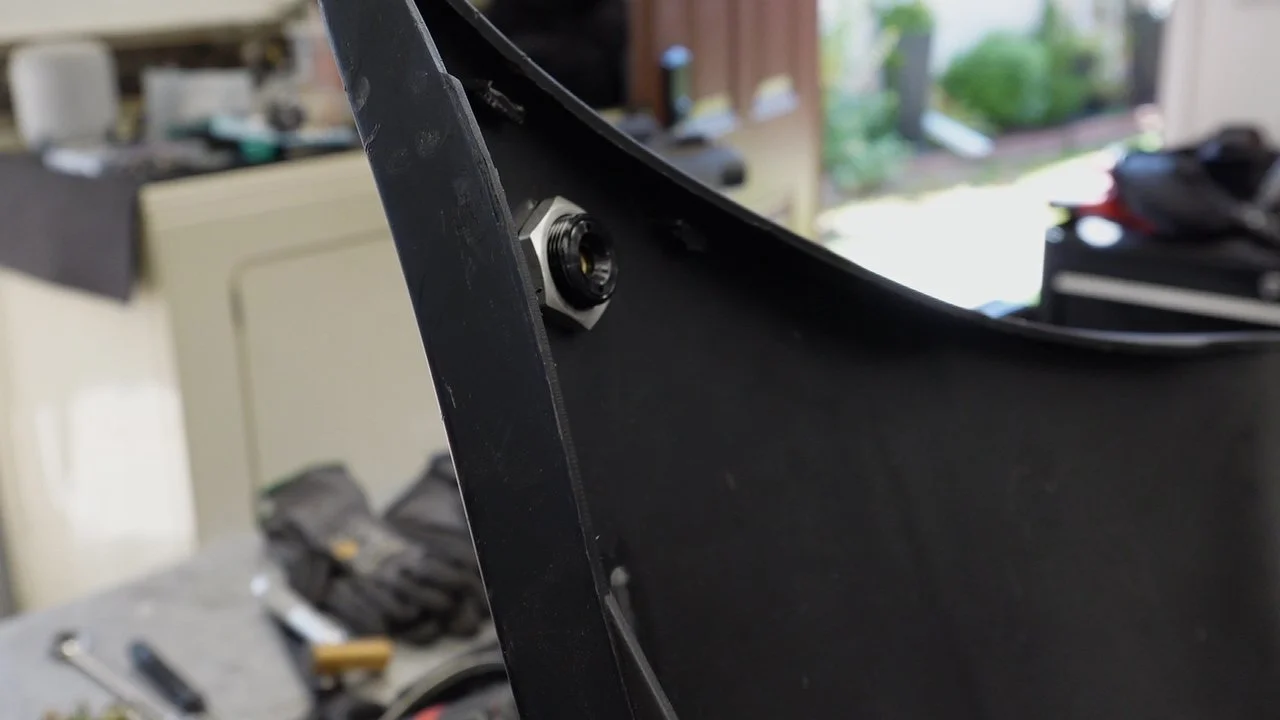
Getting the Quik Latches mounted was rather straight forward. Due to the chassis being in a front end(passenger) accident, I opted to mount the latches in the same spot side-to-side, and use the adjustment in the mounts to square up the bumper.
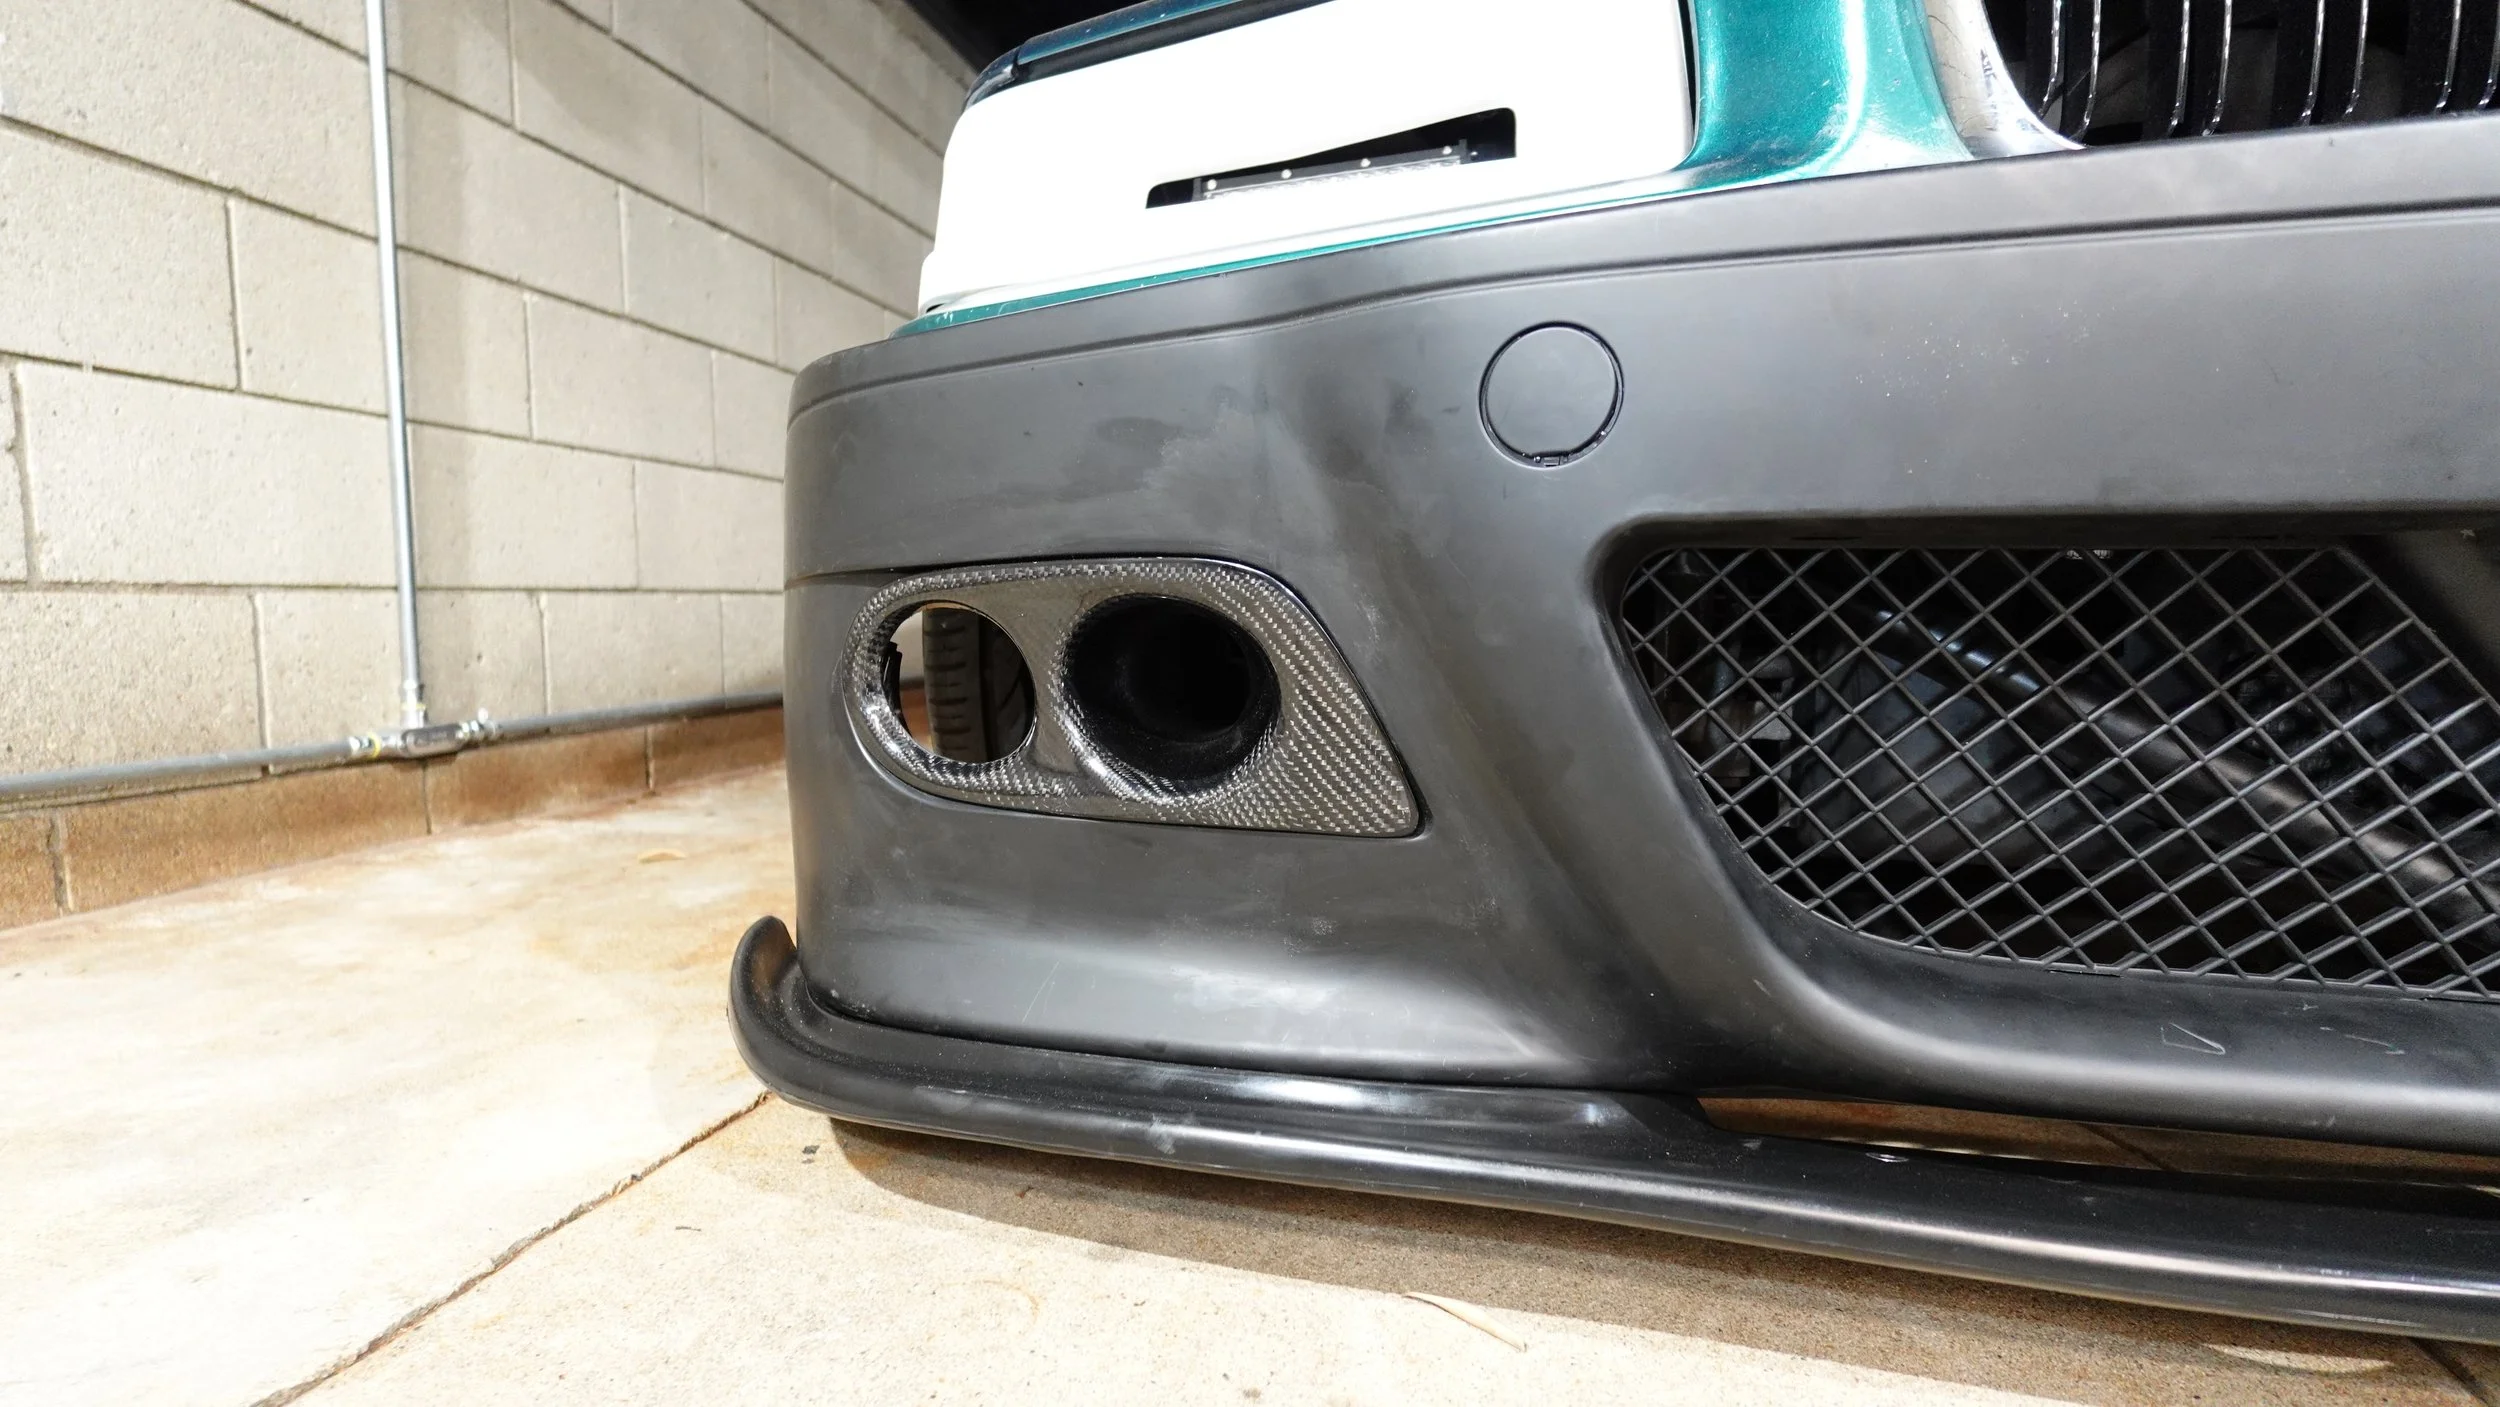
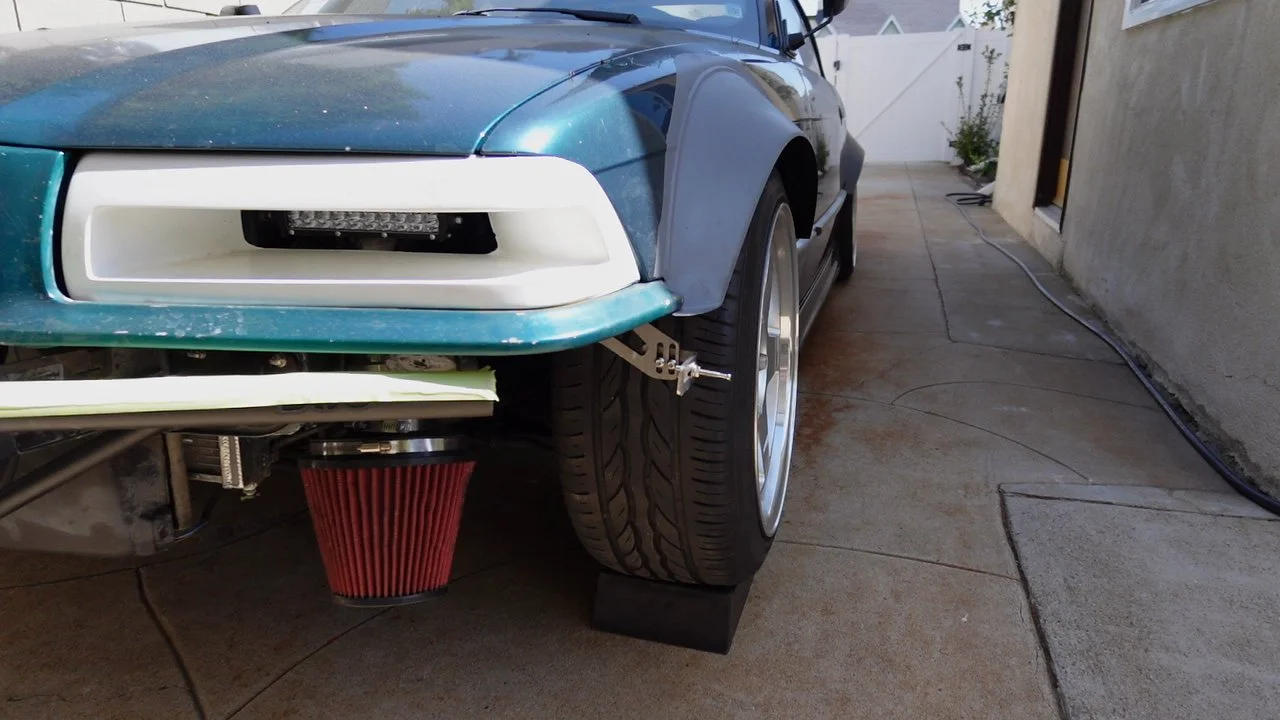
The lower fender winglets that were previously installed for the fiberglass bumper were cut off and remove. I built out new ones that blend the fender to the topside of the bumper and an additional transition piece will then blend the winglet into the fender.
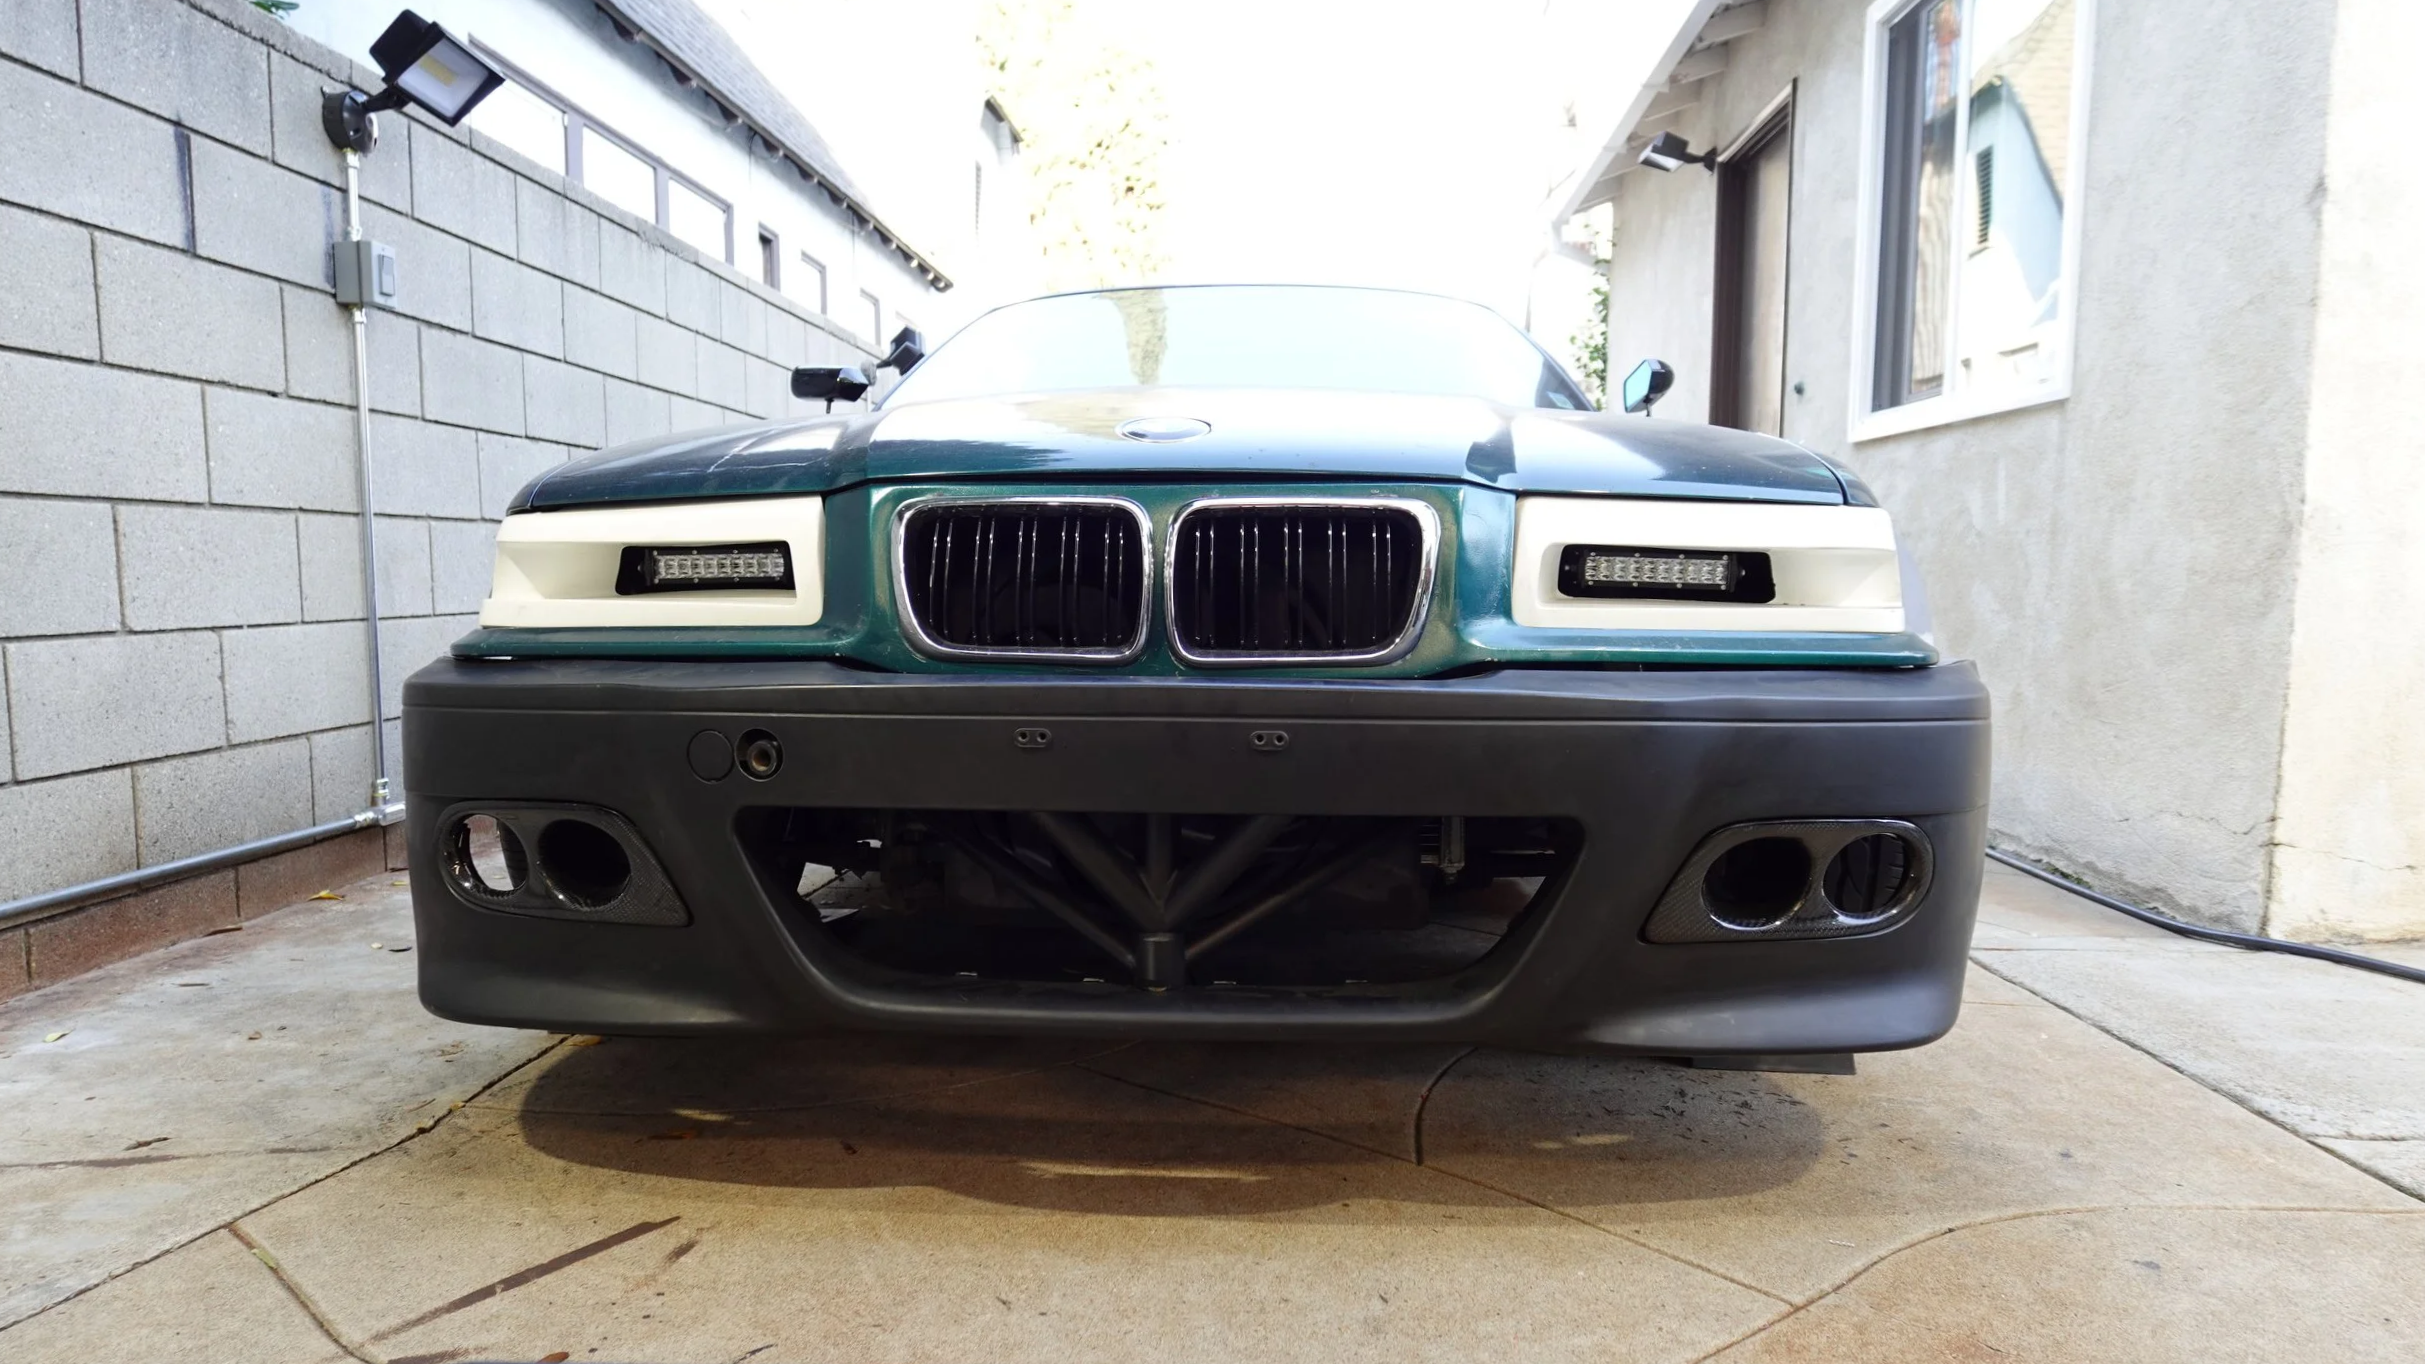
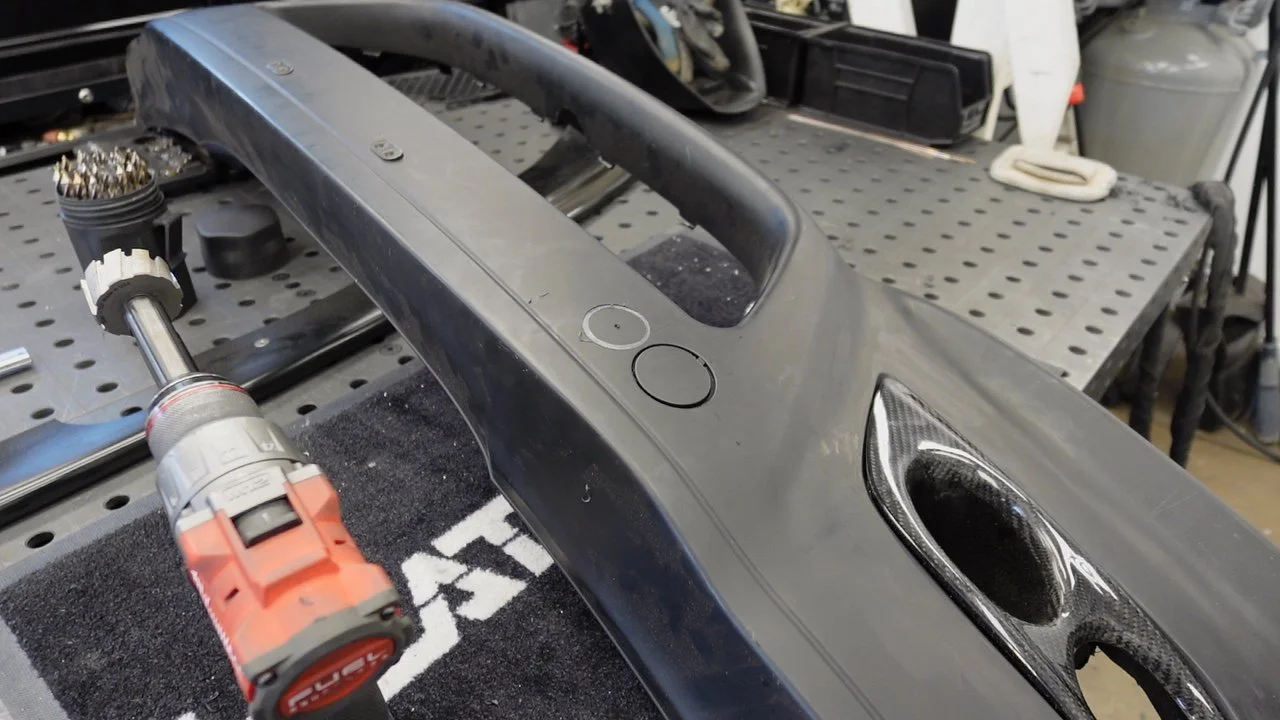
The cutout for the tow-strap and license plate was then made. Body work in the future will cover the OEM one as its already been glued up and closed from the backside. The grill inserts were removed in order to make the bumper mounting process easier - they were then trimmed up as the bumper fits nice and snug.